A plain zippered pouch
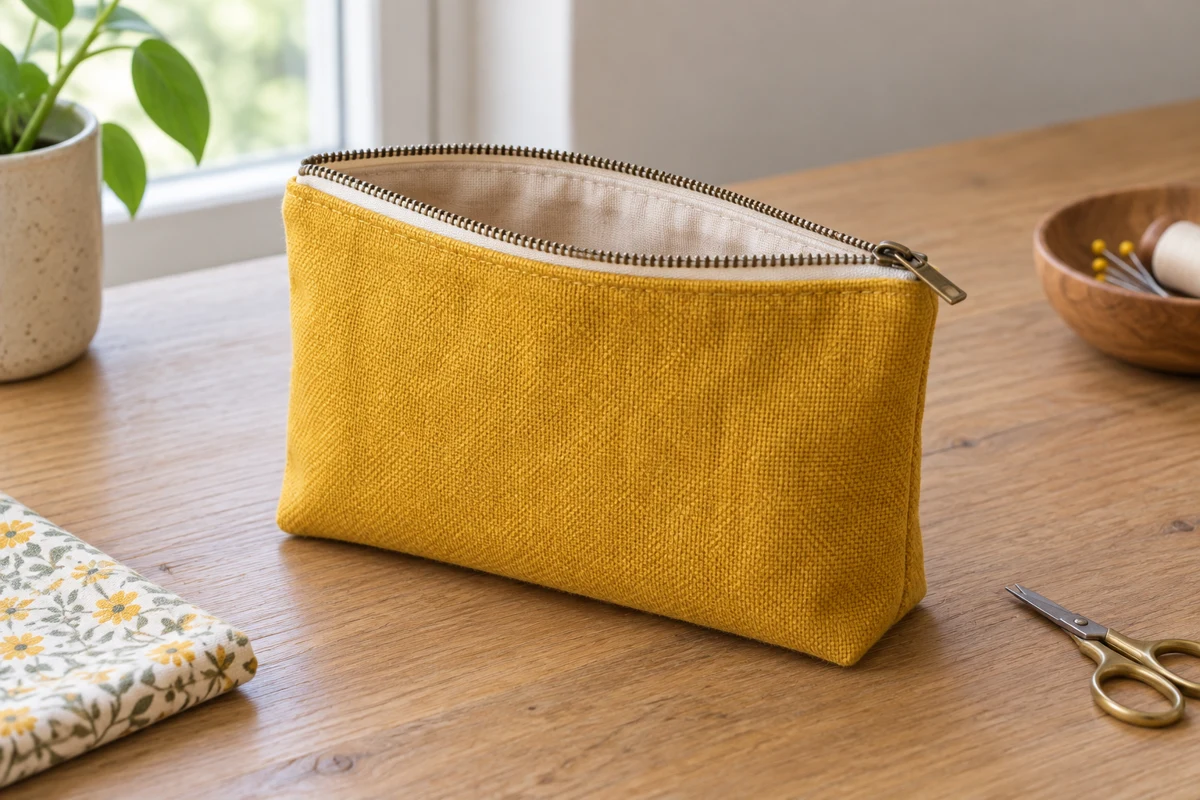
A lined pouch becomes easier to understand when you build the first zipper edge as a simple fabric sandwich.
Prepare the zipper before joining the panels
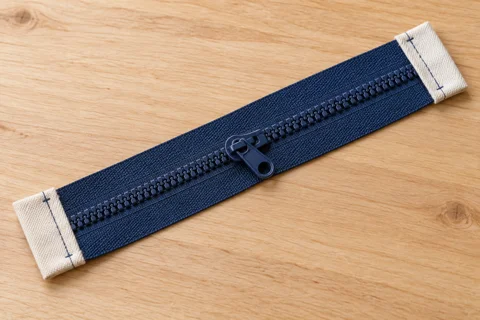
Cut two outer rectangles and two lining rectangles, each 24 × 18 cm, approximately 9½ × 7⅛ inches. Use a 1 cm seam allowance. Choose an ordinary closed-end nylon-coil zipper with an opening around 20 cm long. Add fabric end tabs so the complete prepared zipper assembly measures 24 cm across. Check the actual finished assembly rather than relying solely on the length printed on its package.
The tabs keep the later side seams on fabric rather than over hard stops. Never sew through metal zipper parts. If the available zipper and tabs do not fit the intended panel width, revise the measurements before assembly. Two zippers with similar advertised opening lengths may still have different amounts of tape extending beyond their stops.
Build the first sandwich
Place one outer piece right side up. Lay the zipper face down along its top edge, aligning the long tape edge with the fabric edge. Put one lining piece over it, right side down. The zipper is now enclosed between the right sides of the outer fabric and lining.
Pin the three layers and stitch along the tape with a suitable zipper foot. Leave enough clearance beside the coil for the slider to move freely. When the slider obstructs the foot, stop with the needle in the fabric, raise the foot, and carefully move the slider past the needle position. Lower the foot before continuing. Open the fabric layers and press them away from the zipper, avoiding excessive heat on the coil.
Attach the remaining outer and lining pieces to the second zipper edge in the same way. Check the arrangement by unfolding both outer panels: they should appear on the same side of the opened pouch. Topstitch beside the zipper if needed to hold the lining away from the slider. This line is useful because it controls the fabric, not simply because it adds decoration.
Open the zipper before the perimeter seam
Unzip it at least halfway now. Reaching a closed slider later is awkward. Place the two outer pieces right sides together and the two lining pieces right sides together. The zipper zone lies between these two groups. Match the sides at the tabs without pushing hard zipper components into the future seam line.
Sew around the entire outside outline with a 1 cm allowance, leaving a turning gap approximately 7 cm long in the lining base. Slow down where the stitching crosses the zipper-tab area. Before trimming corners, check that all intended layers were caught and the lining gap remains open. An edge that slipped out is much easier to correct while everything is still inside out.
Rehearse the sequence before stitching
Lay out all four fabric pieces and the zipper before pinning. Mark the wrong sides of the lining discreetly, then assemble the first sandwich and unfold it as it will sit after sewing. When a fabric looks similar on both sides, this brief rehearsal prevents a common reversal that leaves the unintended face visible inside.
Check the proposed opening against its contents at this stage. The usable distance between the tabs is smaller than the entire top fabric edge. An object that only just enters the unsewn shell diagonally may catch on the completed closure. If needed, revise the overall format rather than changing only one lining panel.
A compatible thin interfacing can add body to the outer shell. Apply it before installing the zipper and consider its care requirements. Very thick interfacing makes the tab transitions harder to sew and consumes interior space. Test the complete layer combination in a short seam. A zipper foot gives access beside the coil but does not solve excessive thickness.
If the first zipper seam goes crooked, correct it before joining the sides. The same stitches are much less accessible afterward. Uneven spacing matters especially where it lets lining enter the slider, so assess smooth operation as well as visual symmetry.
Turn and settle the lining
Pull the pouch through the lining gap and then through the open zipper. Shape the corners with a blunt tool. Close the lining opening by hand or with a narrow machine seam, and tuck the lining into the shell. Do not yank the zipper to pull out a stubborn corner; work the fabric free from inside with your fingers.
Open and close the empty pouch several times. If the lining catches in the coil, check the topstitching and any excess cloth beside the zipper before adding contents. This ordinary fabric pouch is neither waterproof nor impact-protective. Scissors and other pointed tools need their own suitable covers so they cannot pierce the lining.