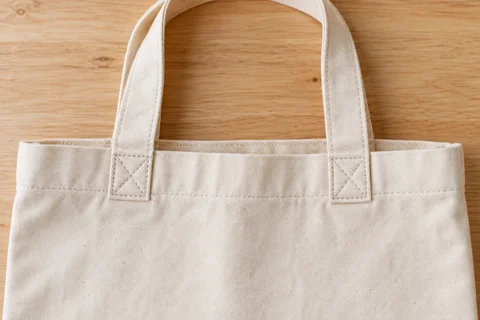
Fabric tabs at zipper ends
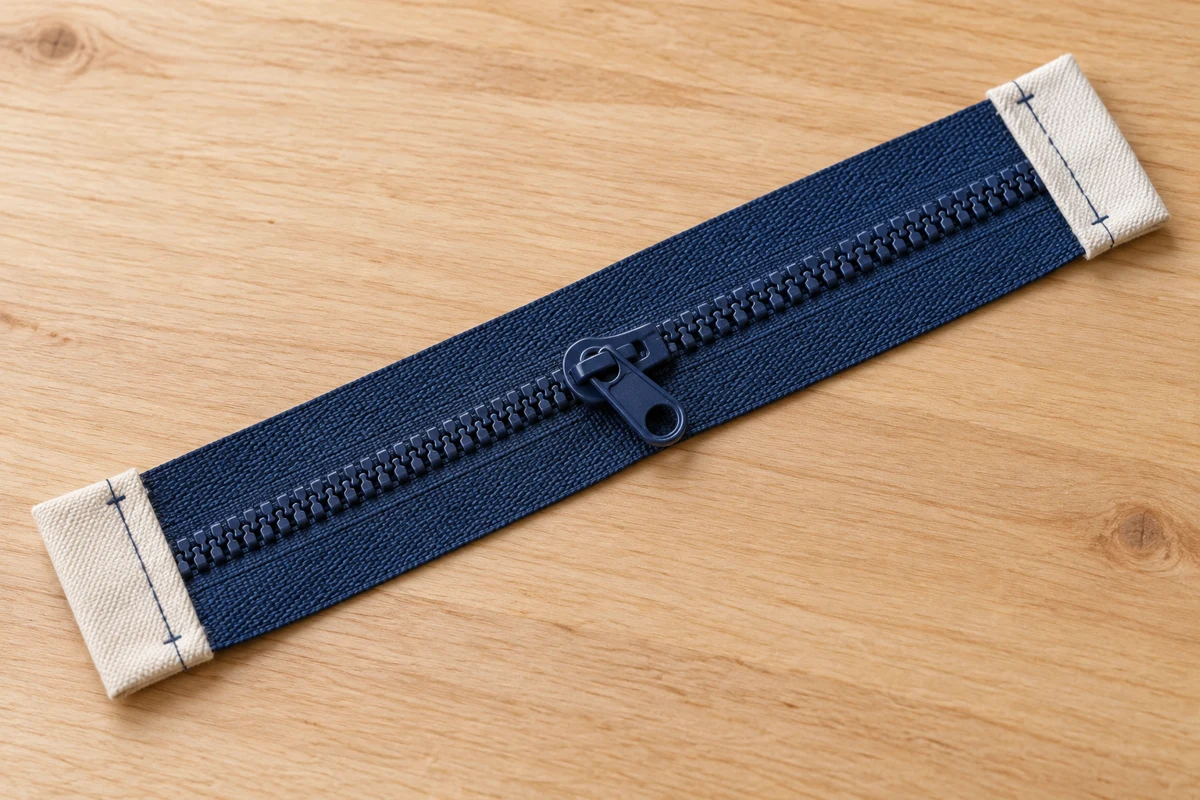
Small fabric tabs create a buffer between a zipper and the side seams of a pouch.
Measure the complete top edge first
The stated zipper length usually describes its usable closure, not the extra tape and tabs. Place it against the cut pouch panel and mark where the future side seams will fall. Hard end stops need to remain away from those seams, inside the finished pouch rather than beneath the needle.
Plan for the same visible tab length at each end. Two identical fabric pieces do not automatically look symmetrical when the zipper ends have different constructions. Also check that the remaining opening will be wide enough for the objects the pouch is supposed to hold.
Test the crossing before sewing the pouch
Stack a tab scrap with the planned outer and lining fabrics and sew through the actual number of layers. The machine should feed them without pulling from behind. If the foot tilts sharply, a suitable leveling aid used according to the machine instructions may help; a thinner tab is sometimes the simpler change.
Contrast fabric makes the tabs part of the design, so visible symmetry deserves attention. Matching fabric puts function first. Both choices still need the same clearance for the slider. A neat color detail should not come at the cost of unintentionally reducing the usable opening.
Fold a scrap into a four-layer tab
A 4 × 6 cm rectangle is a useful starting sample for a narrow zipper, roughly 1⅝ × 2⅜ inches. The 4 cm dimension runs across the zipper tape. Fold the two short ends to the center, making a 4 × 3 cm piece, then fold it in half again. The tab is now approximately 4 cm wide and 1.5 cm deep, with the cut ends hidden inside.
Slip the zipper end between its halves. Let the fabric extend beyond the sides of the tape for now. Lift the tab to verify that no hard stop sits beneath the planned stitching. Sew close to the open tab edge through fabric and tape, never through a metal stop.
Keep the slider end aligned
At the slider end, the two sides of the tape must remain parallel. Close the zipper near the work area and use a few temporary hand stitches outside the visible section to hold the tape aligned. Keep the slider on the usable part of the zipper. Do not cut an end away without knowing how the closure will remain secured afterward.
For a first attempt, a zipper that already fits is simpler than shortening one. After both tabs are attached, measure the full assembly again and compare it with the pouch's top edge. Straighten excess fabric edges only; stretching will not make an undersized assembly fit correctly.
Check the transition in the pouch
Avoid placing the pouch side seam directly on the thickest part of the tab attachment. Inspect the pinned layers before sewing. Once turned, the ends should look soft and tidy while the slider moves freely. A tab that catches the slider has encroached on the moving portion and needs repositioning.