Give a tin a removable paper sleeve
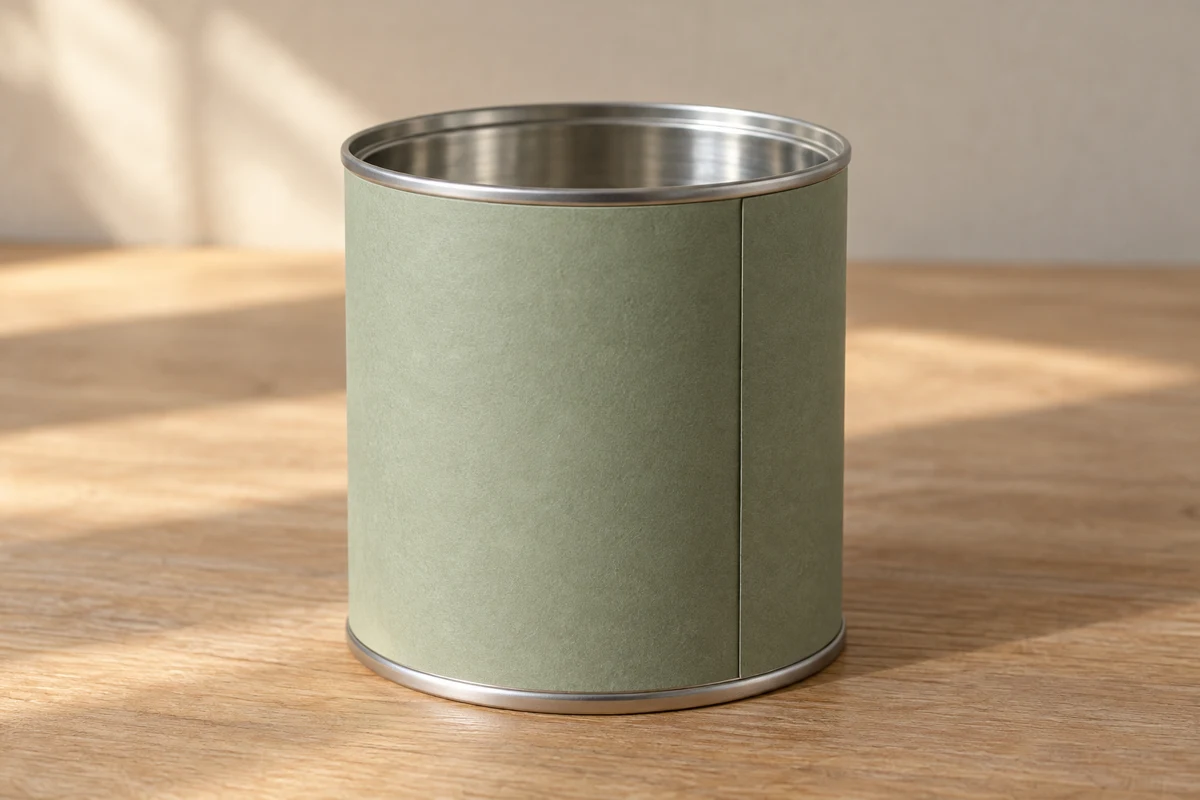
A loose paper sleeve can be changed and removed completely when the tin needs cleaning.
The container must be suitable without it
Use a clean, dry tin with an already safe, smooth rim. This sleeve decorates the outside; it does not cover sharp edges, rust or damaged coatings. Inspect the bare container first. In this project it holds dry craft supplies, not food or hot contents.
Measure the straight wall between the upper and lower rims. Make the sleeve slightly shorter so it neither drags on the table nor catches your hand at the top. Measure the circumference with a paper strip, adding a small overlap positioned at the eventual back.
Close a ring with a little clearance
Cut a rectangle of firm paper and wrap it around the tin without pulling tight. A thin spare strip slipped underneath while fitting creates a little clearance and can be removed afterward. Glue the overlap paper to paper only. Adhesive on the tin would defeat the removable design.
Slide the ring off carefully and let it dry separately so excess glue cannot accidentally bond it to the metal. Try it again once dry. If the tin tapers, a straight ring may fit comfortably at only one height. A narrow band is then preferable to a tall sleeve that wrinkles at the top.
Make the label useful where it sits
For several tins, paper colors can distinguish their contents. Position a small label on the side that will actually face outward on the shelf. Check that orientation before attaching it. A larger label can cover the seam, but it should still come away with the sleeve as one piece.
Keep the paper ring somewhere dry while washing the tin. Replace it only when the exterior is completely dry. Damp edges buckle and may transfer stains. Save a well-fitting old sleeve as a size template when changing the pattern. The next version then needs only a fresh rectangle rather than another round of measuring. If the container's shape changes through a dent, check the fit again instead of forcing the old ring over it.