Make a template you can use again
A reusable template needs more than a neat outline. Orientation, allowances and a check measurement keep later copies consistent.
Prove the shape on ordinary paper
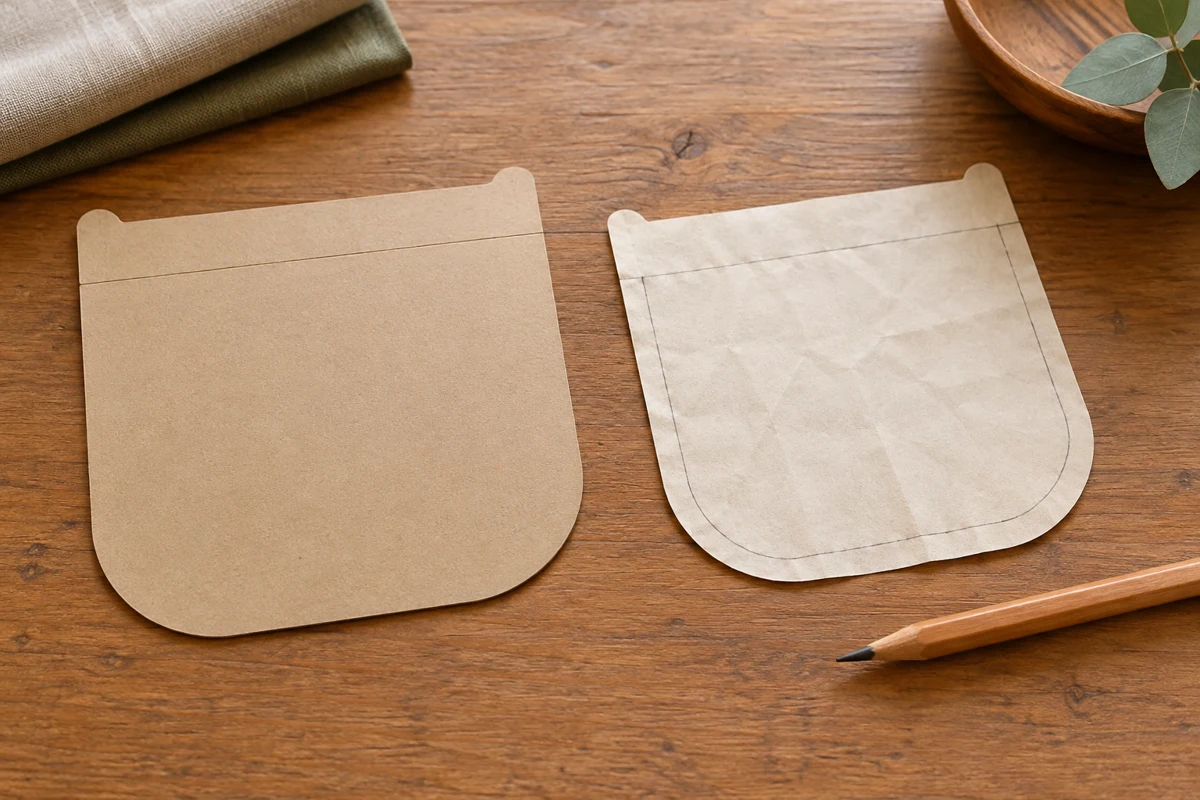
Start with a paper mock-up rather than the stiffest board you own. Draw, cut and try the shape against the actual object. Wrap a cover around its intended contents or hold a pocket where it will sit. Turn the design into a durable template only after the size and shape work.
For a symmetrical piece, fold the paper at the center and draw one half. Cutting and opening it produces matching sides. Mark that fold as a centerline on the template. It is an orientation aid, not automatically a cutting edge.
Define what the outline includes
State whether seam allowances, glue tabs or hems are included. A fabric pattern might say “cutting size includes 3/8-inch seam allowance.” A second line may show the finished size, but it must be clearly different from the cutting outline.
On a paper box, cutting and folding lines do different jobs. Use distinct, understandable marks. Do not let a small notch look like an area that should be removed entirely. Test the markings on another paper model before transferring them to board.
Make the durable version
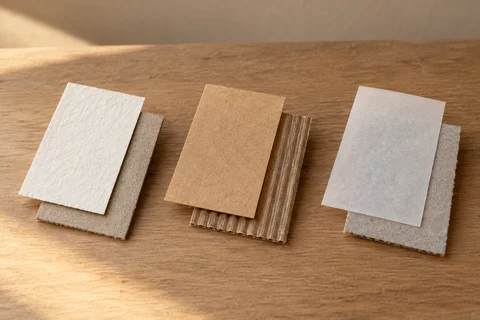
Choose flat, reasonably firm card with a smooth edge. It should resist bending while you trace but not be so thick that the pencil has to lean against it. Warped or frayed packaging is a poor starting point for an accurate reusable guide.
Transfer the tested shape carefully and cut the outline. Compare the finished template with the paper original. A small error will otherwise be repeated faithfully in every subsequent piece. Smaller scissors may control tight curves better than long dressmaking shears.
Label it while the decisions are fresh
Record the project, part name, quantity and orientation. Add grain direction, fold placement and right-side information where relevant to fabric. A cover may need a simple arrow showing the top. A date or version number helps distinguish a later enlarged design.
Include a check measurement between two clear points. If the pattern is digitized and printed later, that dimension exposes incorrect print scaling. A “fit to page” option can change a pattern without making the difference obvious.
Put revisions on a new version instead of accumulating contradictory outlines on one template. Store the working pattern with its notes. A storage hole belongs outside an edge that must be traced, or in a deliberately reserved area.
Keep copies from gradually growing
Lay the template flat and hold the pencil close to vertical. Decide whether the cut follows the line or its inside edge. Cutting around the outside of a broad mark can make every piece larger than intended.
Make copies from the master template, not from the most recently cut piece. That prevents small inaccuracies passing from one generation to the next. When an edge softens or becomes damaged, replace the template using the saved original rather than treating the worn outline as a new standard.