Make an adhesive test before the project
A useful adhesive sample records the materials, amount and drying time. It should explain a failure as well as confirm a promising joint.
Use the real surfaces
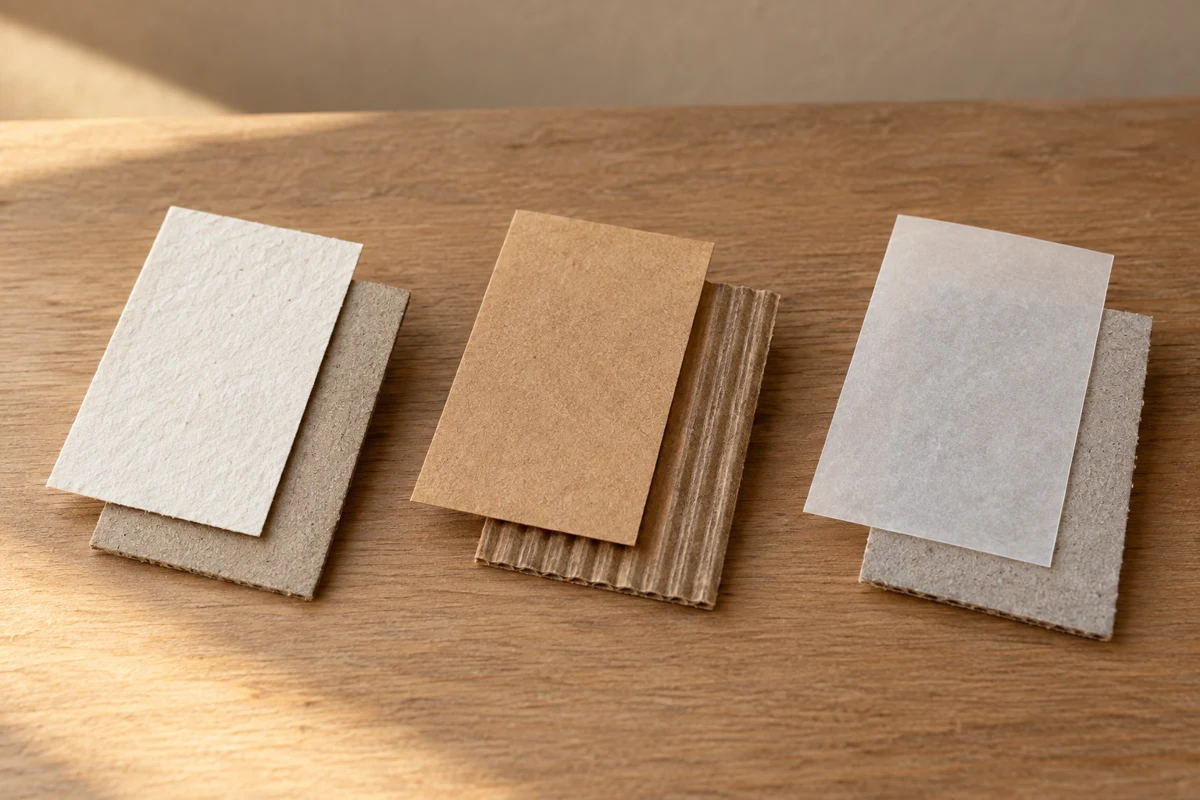
An adhesive holds a scrap of cardboard but releases from the actual box. The apparent contradiction may simply come from different coatings. A useful trial uses the same materials as the project, including the same face or reverse surface.
Make the pieces large enough to handle after drying without relying on one tiny corner. Label them A and B when comparing alternatives. Put the notes on the reverse or beside the sample, not inside the glue area.
Ask one question at a time
Decide what you need to learn. Must the paper remain flat? Does a fabric joint need to stay soft? Should a tab withstand repeated opening? Without a question, the result can become an unhelpful judgment that it “sort of holds.”
Change one variable at first. You might compare two adhesives, each applied according to its instructions, or two permitted application amounts of one product. Changing the stock, adhesive, quantity and drying time together makes a different result difficult to interpret.
Follow the required preparation. That may include clean, dry surfaces or a stated airing time. Avoid invented pretreatments. A solvent can change a surface while also affecting its color, coating or strength.
Look before pulling
Inspect the sample without stressing it. Has the paper rippled? Is there a dark outline? Does the adhesive remain noticeable despite a claim that it dries clear? Clear does not mean a thick glue ridge will disappear.
Feel gently for raised areas and inspect the reverse. A stiff edge may matter more than a slight color change on a fabric piece. A visible glue line inside a box may be acceptable, while a warped sidewall changes the entire fit.
Wait for the stated curing period before applying stress. Move the joint in the way the project will require. Flex a fold, open a tab or pull overlapping pieces against each other in a controlled way. A hard maximum-force tug does not necessarily answer a question about a lightweight decorative object.
Learn from the way it separates
If the joint fails, look at both faces. Adhesive remaining entirely on one surface may suggest a problem with the other. A peeled paper skin can indicate that the coating was weaker than the glue. A damp center may mean the assumed waiting time was insufficient under those conditions.
These are observations for an ordinary craft project, not laboratory certification. They do not establish suitability for a structural or safety-related connection. Such work needs materials and methods intended for that purpose.
Record the outcome briefly: material pairing, product, application, waiting time and visible changes. Keep a successful sample with the pattern if you expect to repeat the project. A failed sample does not need permanent storage, but its recorded result can still prevent the same mistake next time.