A small bunting garland from scraps
One paper template turns assorted scraps into bunting with a consistent shape, even when every print is different.
Give the scraps one shared measurement
Draw an isosceles triangle 12 cm wide and 15 cm tall on paper, roughly 4¾ × 6 inches. These dimensions include a 5 mm allowance along the sloping edges. Mark the top edge and a vertical center line. Reusing this template keeps the flags the same size without requiring the fabrics to match.
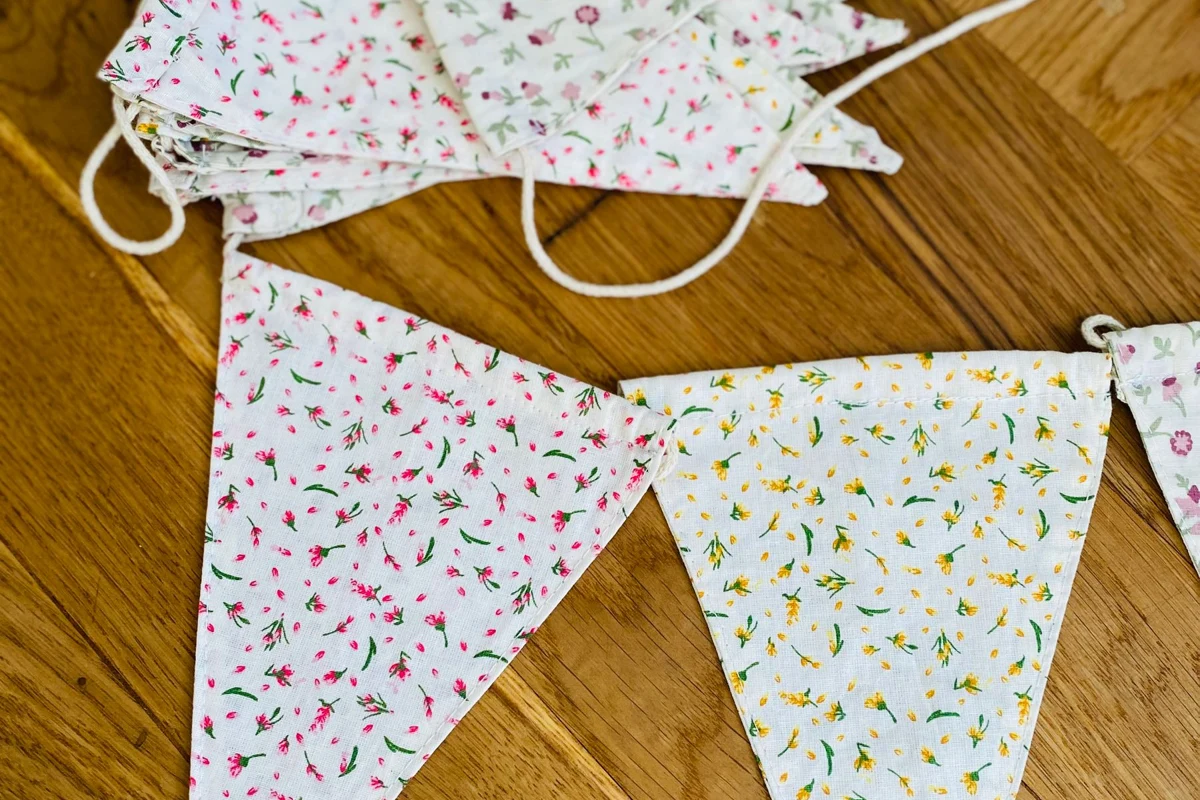
Cut two triangles of nonstretch woven fabric for each flag. A plain backing saves the more interesting scraps for the front. Check the direction of printed motifs before cutting. Arrange the pieces in their eventual order across the table; colors that look balanced in a small pile can appear unevenly distributed along a long garland.
Calculate the full length before cutting
Add the upper widths of the planned flags, then include gaps and both loose attachment ends. If a finished flag measures 11 cm across its top, ten flags occupy 110 cm before spacing. Try the complete length in the intended position before cutting every scrap.
An odd number can place one motif in the center, but this is a design option rather than a rule. A gradual color change can work without a focal flag. Lay out several sequences and photograph them briefly. That lets you return to the first arrangement without reconstructing it from memory after all the pieces have moved.
Turn the point gently
Put each pair right sides together and sew only the two sloping edges. Leave the top open for turning. Secure the seam ends and trim a little excess from the bottom point, keeping clear of the stitching. The remaining allowance must still support the seam when the flag is turned.
Turn the flag right side out and shape its point with a blunt tool. A slightly rounded tip is barely noticeable once the bunting hangs. Press the flag flat and straighten the open upper edge if necessary. All the tops should now be the same width. Correcting a small discrepancy at this stage is easier than adjusting a flag after it has been sewn into the tape.
Arrange the spacing before stitching
Choose a folded tape wide enough to enclose the raw tops completely. Lay out the whole garland first. Small gaps let each print read separately, while touching triangles create a more continuous band of color. Leave spare tape at both ends for attaching the bunting.
Slide each flag top into the fold and pin it in place. Stitch along the tape's open long edge, then inspect the back to confirm that the seam caught both halves all the way along. Remove and reposition a flag that slipped out rather than securing it with one isolated stitch that carries all the strain.
Choose a suitable hanging spot
Hang this lightweight decoration indoors from appropriate fixings. Keep long cords and tapes out of reach of small children and away from cribs, lamps, and open flames. For storage, stack the flags flat and wrap the tape loosely around them. A tight knot creates creases that need unnecessary pressing before the next use.