Start with the material, then choose the project
A leftover becomes a finished object more readily when the design respects its dimensions and limits.
Name one specific job
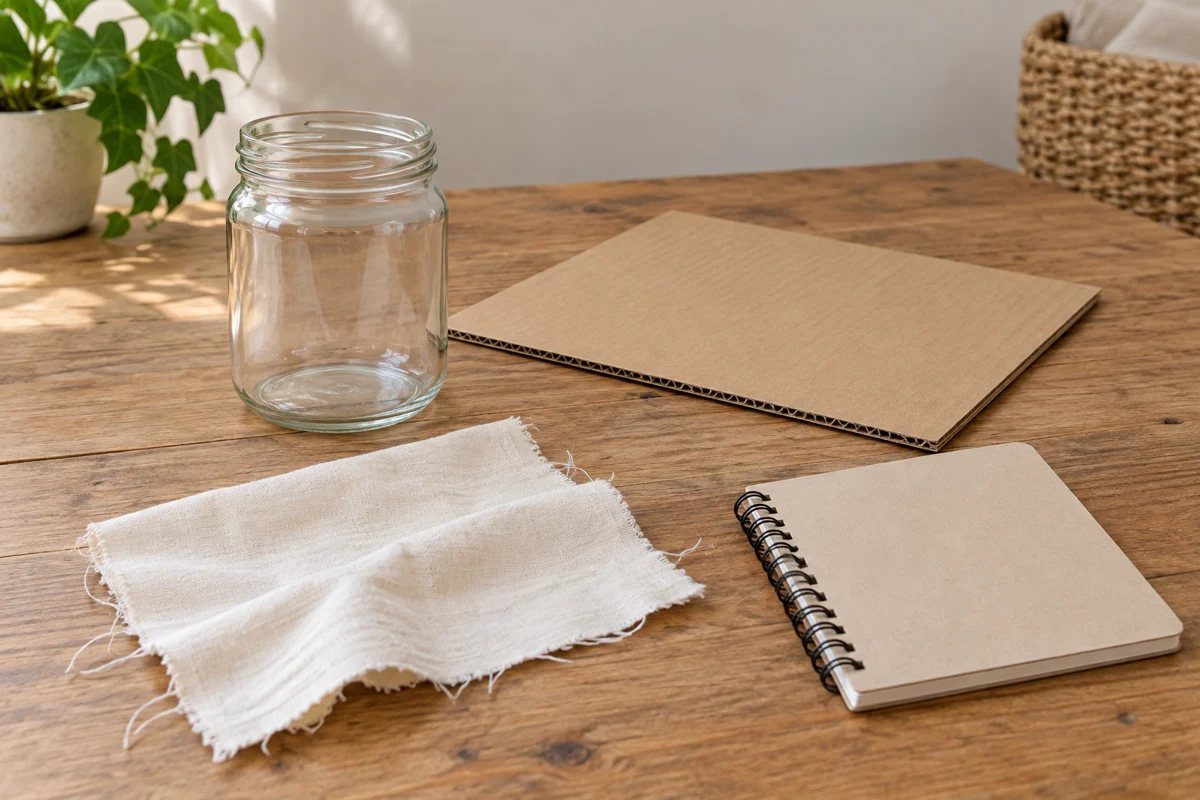
Instead of listing everything the material might theoretically become, choose a small task: hold short pencils, wrap a gift, protect a loose sheet or add a light fabric pocket. Then decide whether the existing material can do that job without elaborate detours.
The remnant does not have to lose every trace of its earlier form or resemble a newly purchased product. A shirt pocket can still look like a shirt pocket. A box can retain old printing underneath. These choices reduce extra work when they do not compromise function or tidy construction.
Record dimensions and behavior together
Note the largest usable area, thickness, flexibility and known care requirements. For a container, include the opening and base. Mark damaged or unsuitable sections. Measure more than the outside maximum: an irregular fabric panel may not contain the rectangle your design requires.
Place paper patterns on the material, including seam allowances, glue tabs and fold areas from the start. A design that fits only without those additions does not yet fit. If a part is missing, consider a smaller, flatter or simpler version before buying more supplies.
Test the most demanding connection first
In sewing, this may be a thick seam intersection; in a box, a folded corner; in a sleeve, adhesive on a glossy surface. Build that exact part as a sample. A successful flat panel says little about whether its eventual join will hold under tension.
Let adhesive tests dry fully and sew samples with the planned layer count. A failed sample saves the remaining material. Note the change briefly: less overlap, a wider margin or a different orientation. The next attempt should respond to that observation rather than merely use more pressure or glue.
Compare the effort with the result
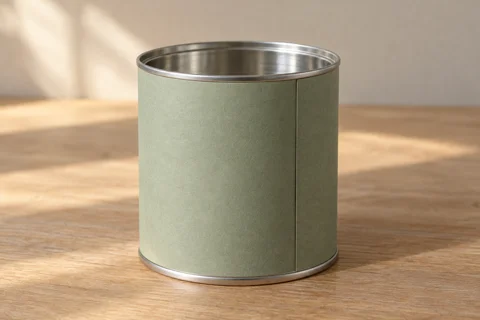
Count the additional items required. A tiny scrap is not necessarily the right foundation if it needs several specialized purchases. Another existing object may perform the task more directly. Consider maintenance too: a tin whose sleeve comes off for cleaning can be easier to live with than a completely glued covering.
Set a modest finishing point. A working tray does not automatically need a handle, label and second decorative layer. Add only what improves use or makes its purpose clearer. A small idea can then reach completion instead of becoming an expanding supply list.
Change one thing at a time
When a sample fails, avoid changing size, material and joining method simultaneously. Otherwise the second attempt will not tell you which decision helped. If a paper sleeve opens, first test the adhesive on the same surface. Change overlap or paper afterward. On a fabric piece, a different seam allowance may help while the basic cut stays unchanged.
Keep the first sample beside the revision until the improvement is clear, then retain a photograph or short note. This does not require an elaborate project report. It simply prevents a small problem becoming a string of unrelated attempts that consume more and more of the available material.
Keep the useful record
Photograph the result and note essential dimensions or a successful joining method. There is no need to save every intermediate test. One good pattern and a few clear details are often enough. Reassess scraps that lost their usable size during the work rather than returning them to storage unchanged.
The same approach may lead to a different shape next time. Reuse does not require repeating one solution for every similar leftover. What matters is that the material, purpose and effort work together, leaving an object that can actually be used afterward.