Drawer dividers from spare cardboard
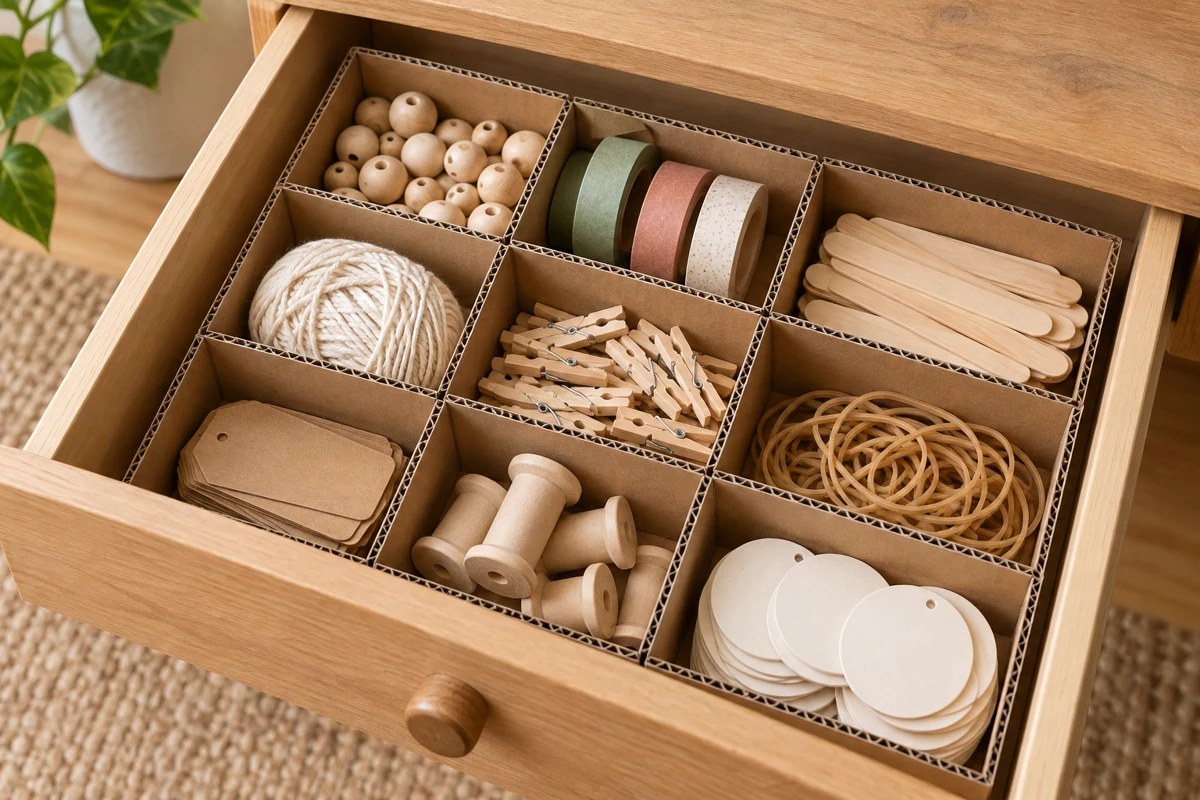
Slotted cardboard strips divide a drawer without permanently gluing the layout in place.
Start with the contents, not a grid
Empty the drawer and set out only the objects that belong there. Long scissors, flat cards and small thread spools need different areas. Arrange them in the empty drawer first. A perfectly even grid may look tidy on paper while wasting space because none of the objects fits its compartments.
Measure the inside width and depth in several places. Some drawers narrow toward the back or have projecting hardware. Check usable height too: a divider must not scrape above it or prevent the drawer from closing. Fit one test strip and close the drawer slowly before cutting the rest.
Build one crossing first
Four compartments need just two strips, one across the width and one along the depth. Cut them slightly shorter than the internal measurements so they fit without pressure. A height of around 2½ inches may work if the drawer has room. Choose dry, firm corrugated board without crushed areas or grease.
Mark where the strips will cross. That point need not be central if the compartments should differ in size. Cut a slot halfway through each strip's height, from the top on one and from the bottom on the other. Make each slot approximately as wide as the actual cardboard thickness. A single knife slit is often too narrow for corrugated board.
Slide the strips together. Their top edges should align, with both lower edges resting on the drawer floor. If one stands higher, check slot depth. If the joint wobbles badly, the slots are too wide. A new, closer-fitting test is neater than packing the joint with many tiny pieces of tape.
Add compartments only where needed
Put the crossing in the drawer and distribute the contents. Decide now whether another crosspiece is necessary. Mark each new intersection on the installed pieces, then transfer it to the added strip. This keeps the positions accurate even when the first arrangement is deliberately uneven.
For tiny objects, a shallow box within a larger compartment can work better than many thin dividers. It also lifts out for use at the table. Heavy tools need a stronger solution than lightly slotted cardboard. The walls organize the contents rather than forcibly restraining their weight.
Leave a lane for long objects
If scissors or a long ruler would cross several planned compartments, change the layout first. A narrow uninterrupted lane along one side can hold them while the remaining area is divided further. Not every wall needs to span the whole drawer. A short divider can stop between longer walls, but it needs a secure slotted connection or a separate little inner box to support it there.
Place the largest object in that lane and try lifting it with your hand. Length alone is not the full measurement: fingers need side clearance, and scissors should be closed with their points protected. If an object can only be removed vertically with exact alignment, the compartment is too tight for ordinary use. Move the wall even if neighboring spaces become unequal.
Finish edges and try ordinary use
Remove loose fibers from the cut edges. A paper strip over the top can make it smoother, but it adds thickness. Apply it only after the fit works, keeping the slots clear. Leave the bottom unglued so the entire arrangement remains removable.
Open and close the loaded drawer several times gently. If small pieces slip underneath the walls, check for an uneven floor or use little inner boxes. Replace cardboard that absorbs moisture or becomes permanently distorted. Write the finished strip dimensions underneath. That makes replacements easier without treating the first layout as a permanent decision.