Cut a window into a greeting card
Plan the border, backing and picture before cutting a window into a card front.
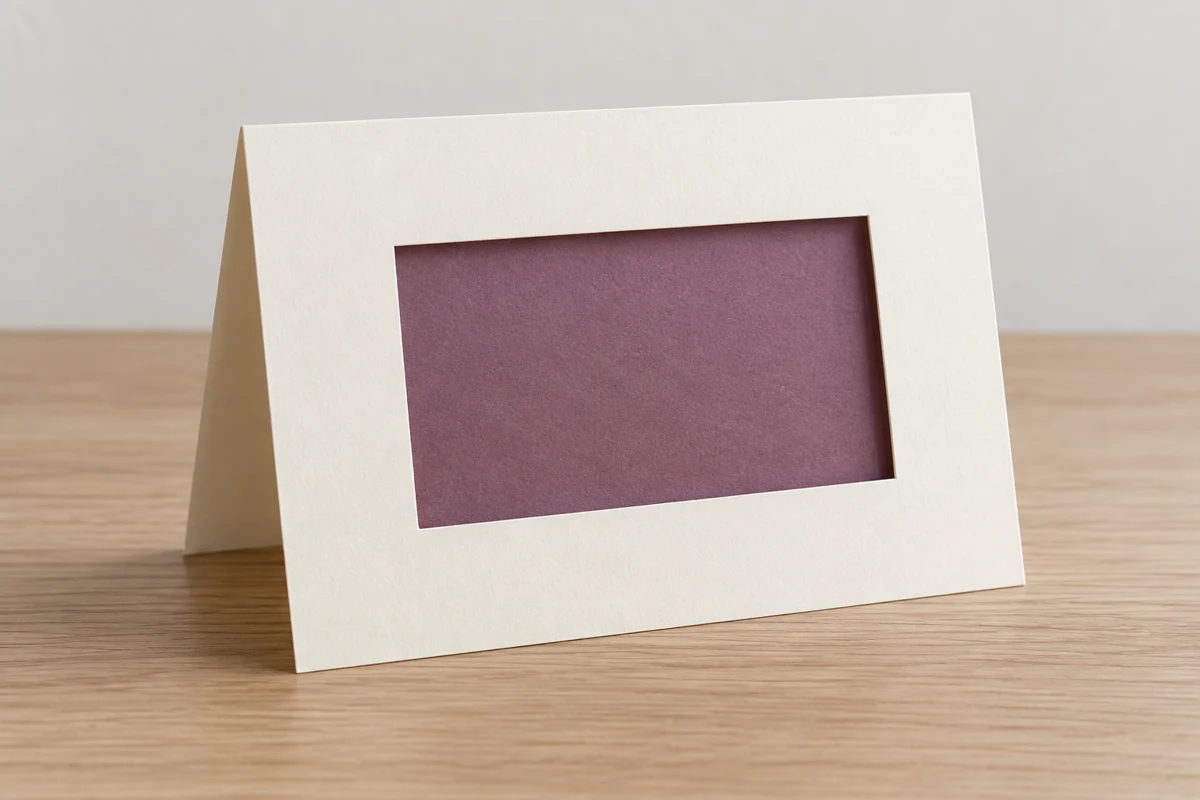
Position the opening on the folded card
Finish folding the blank first, then draw the window on the inside of its front panel. A rectangle is easier to control than a tight curve. Leave enough cardstock around every side, particularly beside the main fold. A very narrow bridge can buckle when the card opens even if it looks tidy while lying flat.
Place the intended picture behind the marked area and check which part will show. Move the picture or the window outline until they work together. The image can sit on the right-hand inside panel, or it can attach directly behind the opening with another sheet covering its back.
Cut only the front panel
Open the card completely and place the front panel on a cutting mat. Keep the other half out from beneath the cutting area. Guide a suitable craft knife along a cutting ruler, using several light passes. Stop at each corner rather than extending the cut beyond it. Keep your free hand behind the ruler and outside the blade's path.
If the center piece does not lift out easily, find the remaining connection instead of tearing it free. A small paper bridge can be cut deliberately; a ragged edge is harder to hide. Remove visible pencil marks before inserting the picture, then inspect the opening with the card closed.
Attach the image beyond the visible area
Position the picture temporarily with small removable strips outside the window. Close the card and check the alignment again. Adhesive belongs on hidden margins, not inside the opening. Test translucent paper separately because some adhesives show through as dark patches even after drying.
A second paper frame can cover the back of the join, but leave it clear of the card's fold so the hinge stays flexible. For mailing, keep the whole construction reasonably flat. Thick objects behind a small opening push against the envelope and can distort the border. Save the cardstock removed from the center; it may become a coordinating tag or a small writing panel inside the finished card.