Wrap a cylindrical gift
Fit a paper sleeve around a round gift, then close its ends with small overlapping folds.
Check the shape before measuring
A straight-sided cylindrical container is easier to wrap than something with an uneven lid, protruding handles or soft walls. Roll the object gently a short distance on the table. If it wobbles, measure around several points with a paper strip and use the largest circumference. The wrapper must fit the widest part, not just the middle.
For fragile contents, gift paper does not replace protective packaging. Secure the contents inside their container first. The decorative paper only covers the shape afterward. There is no need to heat or modify an unidentified glass container for this project.
Size the rectangle around the object
Wrap a trial strip around the circumference and mark where its ends meet. Add about ¾ inch, or 2 centimeters, for overlap. That length becomes one dimension of your rectangle. The other dimension is the cylinder height plus an allowance at each end. Each allowance needs to reach at least to the center of the circular end, approximately the radius.
A cylinder 3 inches across therefore needs about 1½ inches at each end, plus a little folding room. Excessively long allowances create bulky bunches. Test with ordinary paper before cutting a decorative sheet. Thin paper tolerates slightly more overlap; stiff paper benefits from a more closely fitted piece.
Close the sleeve
Center the gift on the back of the paper. Bring the long edges around it and secure their overlap along the back. The paper should lie close without squeezing the container. Turning under a narrow edge on the visible seam provides a clean finish and hides a slightly uneven cut.
Check the two end allowances again before closing the seam permanently. If one is much longer, reposition the object now. Pulling it through a finished sleeve tends to create diagonal wrinkles. This is also the moment to confirm that a directional print faces the way you want.
Fold the circular ends gradually
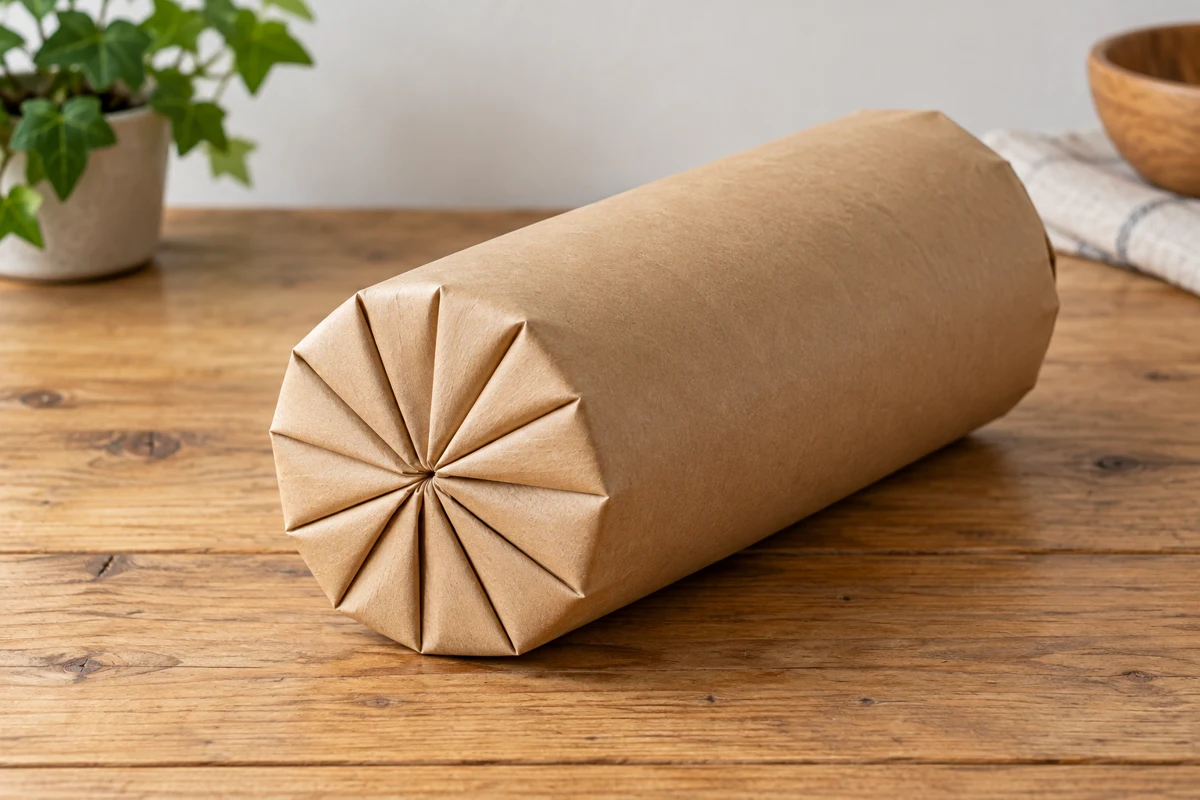
At one end, press a small section of the paper edge inward toward the center. Hold it while folding the neighboring section over it. Continue around the circle with similarly sized folds that overlap like a fan. A very large first fold often leaves a thick lump on the opposite side.
Secure the center with a small piece of tape or a paper disk. Turn the gift over and repeat at the other end, supporting the completed side on a clean, soft surface. The folds need not be mathematically identical. They should lie close to the end without long loose points sticking out.
Leave an accessible top when useful
For an opening that is easier to undo, leave extra paper at the top and gather it loosely instead of folding it flat. This needs considerably more allowance and works better with thin paper. Do not tie so tightly that the wrapper tears. Keep the lower end flat so the gift can stand.
Test the finished parcel on its intended surface. A thick central paper lump beneath a narrow cylinder can make it unstable. If that happens, a separate box is a better answer than adding more tape beneath it.