A small notebook with a simple sewn binding
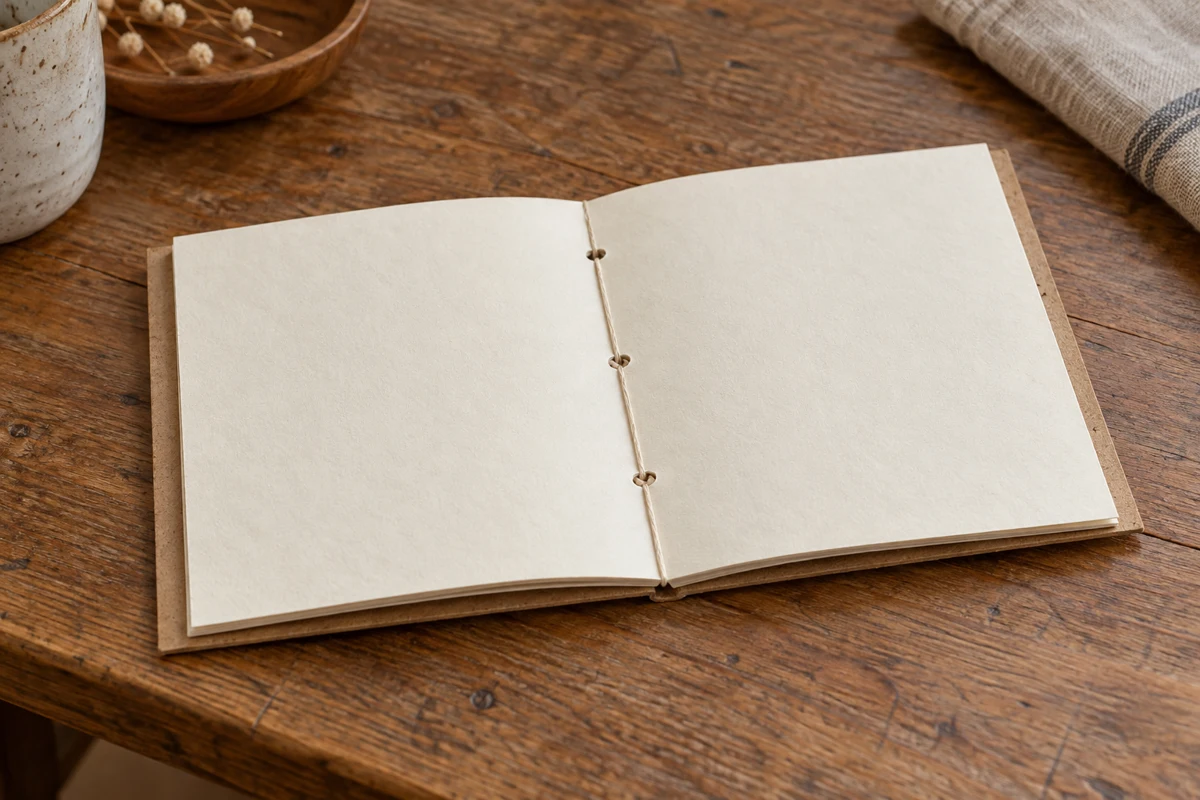
A three-hole pamphlet stitch joins a few folded sheets into a notebook that can be opened and adjusted later.
Decide how many pages you need
Start with four sheets of lightweight writing paper and a slightly firmer cover. Each sheet folds once to make four usable pages, so four inner sheets produce sixteen pages, excluding the cover. Adding more sheets makes the spine thicker and the stack harder to align.
For a small notebook, cut the inner sheets to 20 by 14 centimeters, approximately 7⅞ by 5½ inches. Folded pages will measure 10 by 14 centimeters. Cut the cover the same size initially, or leave it slightly larger. Judge its final edge only after the whole stack is assembled. Check which face of a printed cover should appear outside before making the fold.
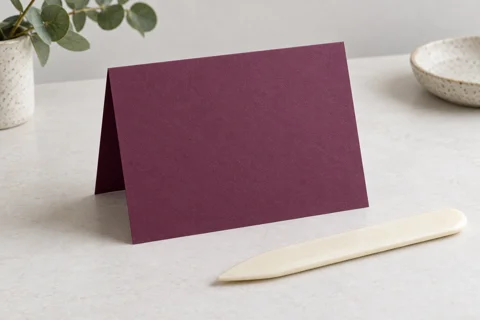
Where possible, arrange the paper grain parallel to the spine. Fold each sheet separately, align its corners and smooth the crease with a blunt folding tool. Nest the sheets afterward. Folding the entire stack in one movement shifts the inner layers more and gives you less control over the crease.
Place three holes on the fold
Nest the pages inside the cover and open the booklet at its center. Hold the stack with clips, protecting their contact areas with scrap paper if needed. Mark one hole halfway down the spine and one about 2 centimeters, or ¾ inch, from each end. All three marks belong directly in the fold.
Pierce through the layers with an awl or suitable paper-piercing tool over a thick, appropriate support. Never push the point toward your palm. A folded cardboard cradle can support the spine if a safe backing catches the tool beneath it. Make holes large enough for the thread without turning them into long slits. Check that all three exits sit cleanly along the outside spine.
Follow one continuous thread path
Cut a strong thread about three times the spine height and thread a suitable needle. Start inside at the middle hole and pass outward, leaving a tail about 3 inches long inside. Travel outside to the upper hole and pass back inward.
From there, take the needle directly down the inside to the lower hole and pass outward, skipping the center hole. Travel outside from the bottom to the middle, then enter the booklet again. Avoid piercing the thread already in that center hole. You should now have two loose ends inside, with a long thread section running between the upper and lower holes.
Tighten gently. Arrange the loose ends on opposite sides of that long section and tie them around it with a firm, flat knot. This catches the central thread as well as securing the ends. Leave short tails rather than cutting immediately beside the knot, so it can be adjusted if necessary. Excessive tension can tear the holes or bow the spine.
Check the edge and the opening
Close the notebook and inspect its fore edge. Inner sheets may project slightly because they follow a shorter path around the fold. That stepped edge can remain on a small handmade booklet. Trimming it requires a safe cutting setup and several controlled passes rather than a forced cut through the whole stack.
Open every spread once. If the pages pull awkwardly, check the thread tension and hole alignment first. This binding remains accessible: you can untie it and replace a damaged sheet. Keep a sample note of the paper size, sheet count and hole positions. Those measurements make the next notebook easier to plan without requiring it to repeat the same cover design.