Choose adhesive for paper joins
Think about coverage and moisture before adding more glue. A small trial joint can prevent a rippled paper project.
Thin coverage still needs to be complete
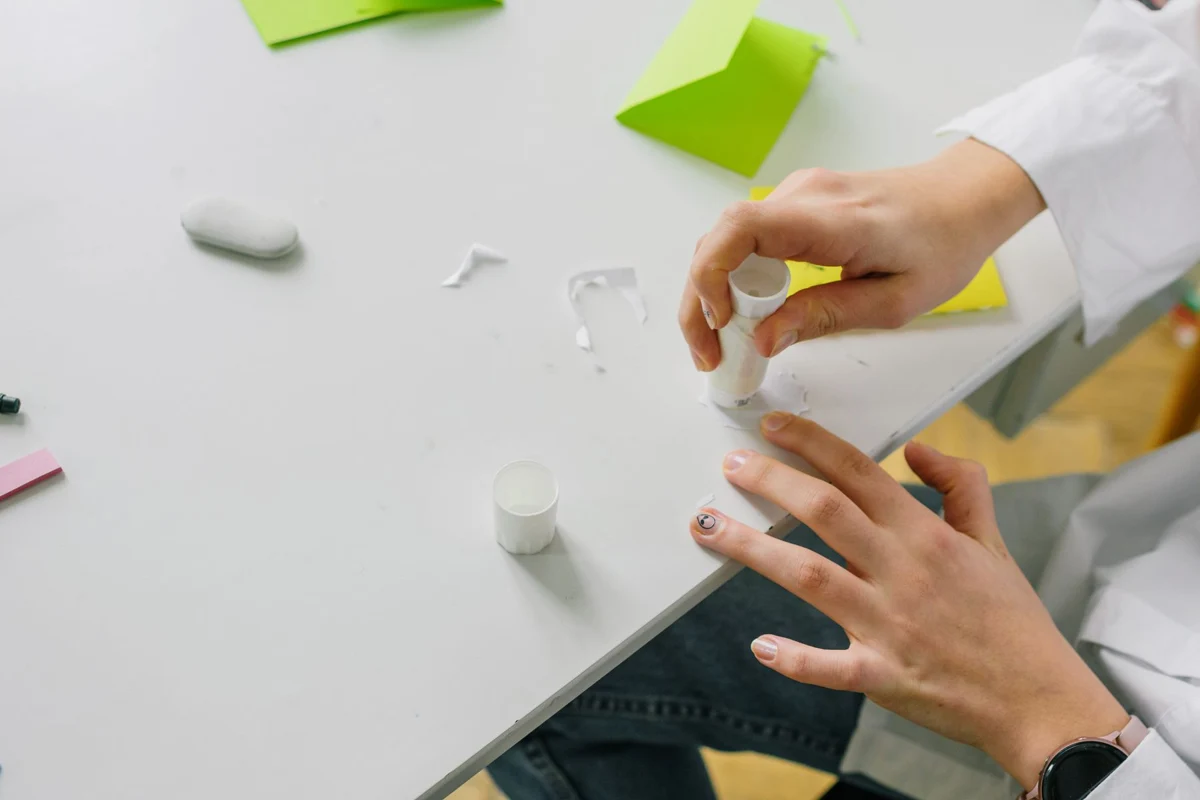
A paper joint needs contact across its intended bonding area. That does not mean a thick layer of glue helps. Excess moisture can ripple lightweight paper, while squeezed-out adhesive can stain the face. Aim for an even amount appropriate to the product.
A glue stick may be convenient on uncoated paper, while a stressed box tab may need another suitable adhesive. Glossy, waxed and highly absorbent surfaces behave differently. Read the product's material guidance rather than assuming that success on one project applies to every sheet.
Arrange the pieces before applying anything
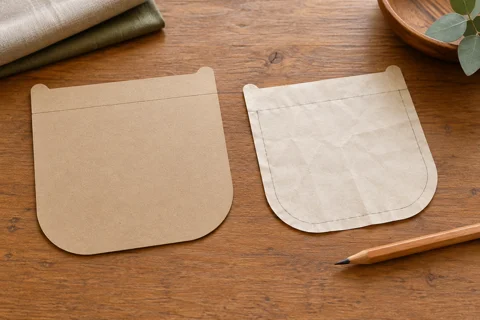
Dry-fit the parts. Check which one overlaps and where its edge should finish. On an envelope, for example, the glue area must not accidentally close the pocket opening. A small pencil mark on the hidden side can preserve the orientation.
Use a clean scrap sheet beneath the tab you are coating. It lets you reach the edge without covering the table in adhesive. Replace that sheet when it becomes sticky; otherwise it can transfer glue to the face of the next piece.
Apply the adhesive as directed. Different types do not all work the same way. Some are joined immediately, while others require an open or airing time. A blanket instruction to press everything together at once is not suitable for every product.
Align, press and allow time
Position the edges before applying pressure. Smooth a flat joint gently from the center outward without stretching damp paper. A clean, suitable separating layer can help distribute pressure, but check that it will not stick to any adhesive squeezed from the edge.
Dry to the touch does not always mean ready to handle under load. Allow the drying time given by the manufacturer. A closed box or stack of sheets may retain moisture longer than a small exposed test strip.
If an edge lifts, investigate before adding more glue. There may have been a missed area, dust on the surface or a coating that separated from the paper itself. Another thick layer can hide the cause rather than solve it.
Valuable original photographs and documents need different treatment from disposable packaging. Use suitable preservation materials or an adhesive-free mounting method instead of putting ordinary craft glue directly on an original. An adhesive that dries clear is not automatically appropriate for long-term contact with a photograph. When the object matters more than the decorative mount, let its storage needs determine the construction.