When fabric glue does not replace a seam
An adhesive may hold a decoration while failing at a bag handle. Decide what the joint must withstand before choosing glue instead of stitching.
Describe the load before choosing the adhesive
A fabric flower on a greeting card and a handle on a shopping tote are very different joints. The flower needs a light decoration to stay in place. The handle experiences weight, movement and repeated lifting. An adhesive that succeeds with the first is not thereby suitable for the second.
Ask what will happen to the finished item. Will it be folded, washed, ironed, stretched or handled every day? Will the joint stay flat, or will its edge repeatedly be pulled away from the surface beneath it? Those questions are more useful than the general words “fabric glue” on a product listing.
Do not assume that glue replaces a load-bearing seam. Handles, stressed bag seams and similar construction details need a joining method appropriate to the fabric and use. An adhesive may help temporarily position some work when both the product and sewing process allow it. In that role it assists assembly rather than becoming the structural connection.
Fabric is part of the adhesive system
Dense cotton, open-weave linen, coated fabric and stretchy jersey do not behave alike. On thin cloth, adhesive may soak through and leave a dark outline. A water-resistant finish may prevent a good bond. Stretchy material needs a connection that can accommodate movement.
Check the manufacturer's guidance for both surfaces. If you are attaching cloth to cardboard, the cardboard matters too. Craft felt and wool felt can also contain different fibers even when the sheets look similar on a store shelf.
Wash or clean the fabric as appropriate to the project and its intended care, then let it dry completely. Do not use a random solvent to improve adhesion. It may affect the dye or finish while introducing a different problem.
Make a sample that experiences real use
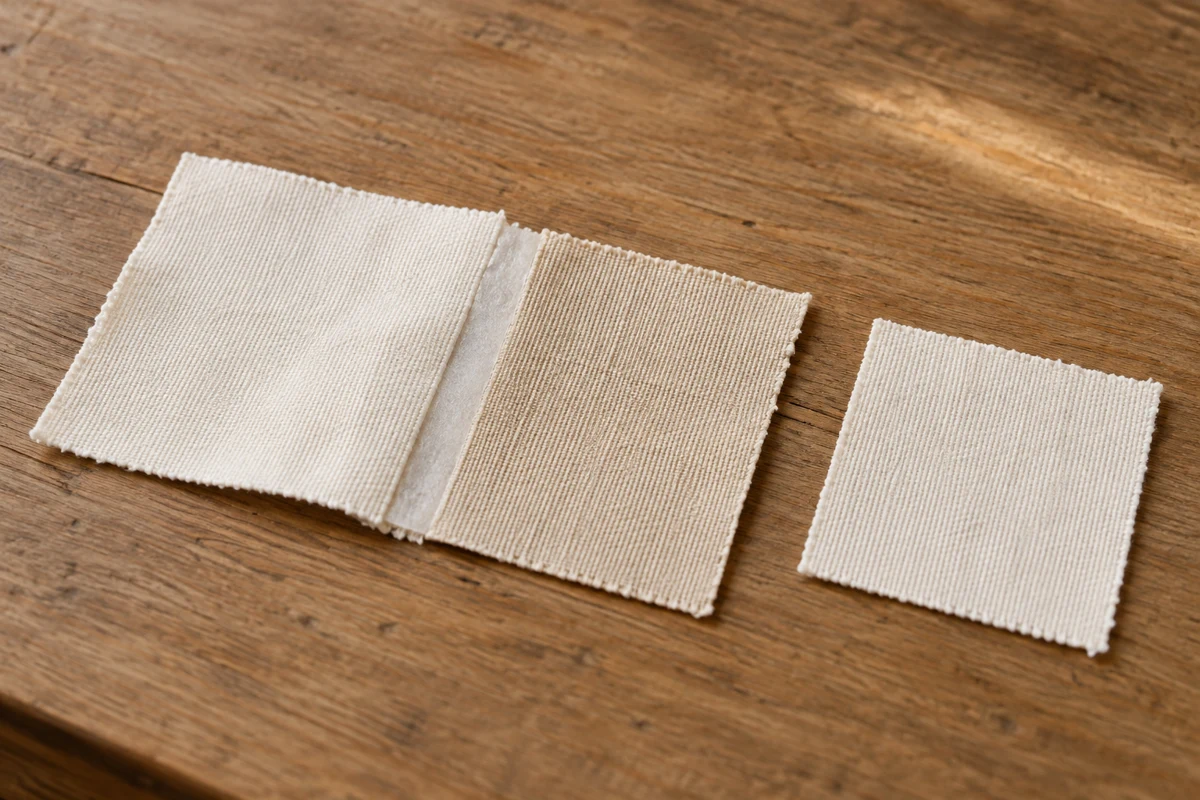
Cut two scraps from the actual materials. Pieces around 2 by 3 inches give you room for a small overlap while leaving ends to hold. Mark the reverse with the product name and application details.
Apply the adhesive exactly as instructed. Respect its open time, pressure requirements and curing period. Pulling the pieces apart immediately after joining them tells you little about the final bond. Conversely, a joint that initially feels acceptable may become stiff after it has cured.
Bend and move the finished sample as the object will move. Inspect the face in good light and feel for hard ridges. If the item must be washable and the adhesive permits that use, wash the sample only after the specified waiting period and according to its care directions. Let it dry before judging the result.
Try gently peeling a small corner. This is not a standardized strength test, but it can reveal an obvious weakness. Does the adhesive release from the fabric, tear away a surface layer or leave a rigid plate? A little stiffness might be acceptable on a decoration but uncomfortable in a soft cloth.
When a few stitches are the easier answer
Sometimes a short seam is less work than searching for a bond that is invisible, flexible and washable. A small decoration can be held by a few suitable stitches and removed later. Adhesive residue may remain in the weave permanently.
Do not use these informal samples to qualify safety equipment or load-bearing gear. Even for ordinary home accessories, keep the construction's limits clear. A decorative cloth covering does not repair a failed supporting structure. If the test stays blotchy, rigid or unreliable, change the joining method rather than turning the finished object into the next experiment.