A small craft-foam stamp
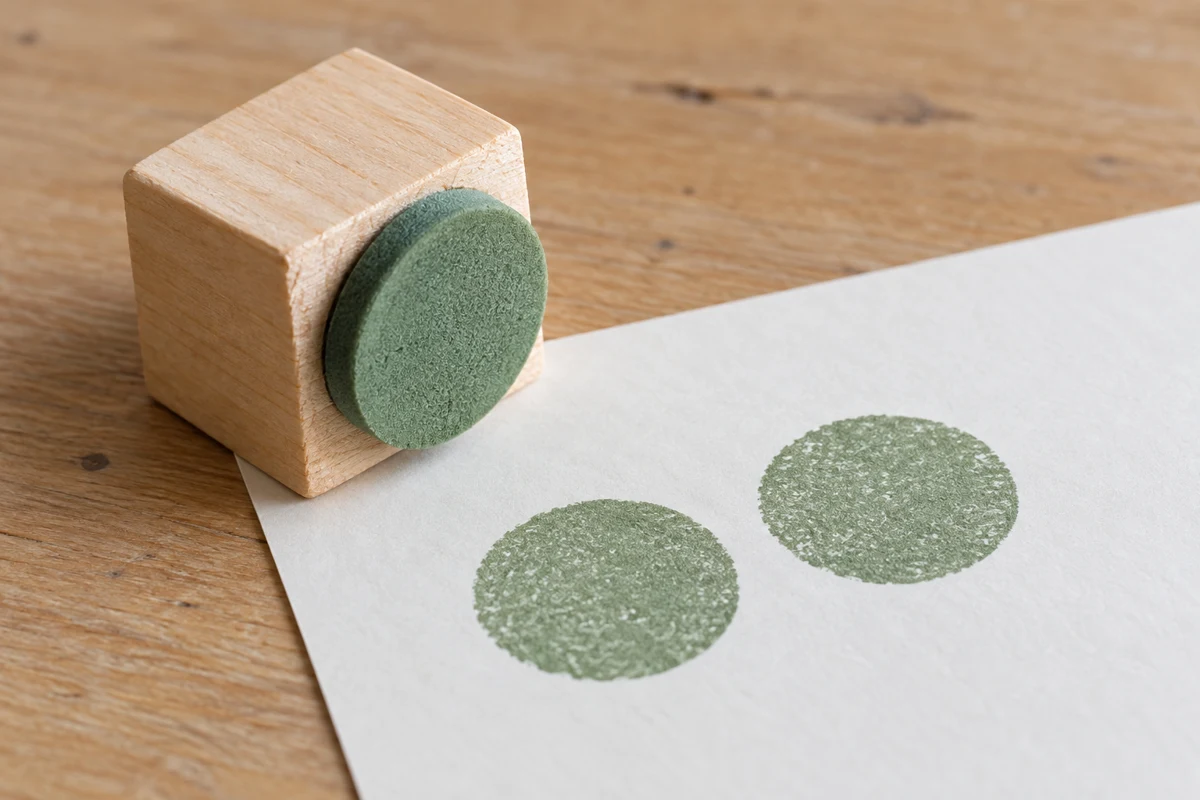
Mount a simple foam shape on a flat handle so the printing surface stays level.
Choose the shape and handle together
Draw a simple motif on thin craft foam. Broad lines and solid areas are easier to print than tiny details. Cut the shape with suitable scissors and place it on a flat handle, such as a small smooth wooden block. Support the whole shape rather than letting parts hang beyond the block's edge.
If you use lettering, remember that the impression reverses the printing face. Draw the letter on paper, reverse the template, and check its direction before gluing. A symmetrical motif removes that extra complication while you learn how the foam behaves.
Keep the mounted surface level
Choose an adhesive labeled as suitable for both the foam and the handle material. Some products can damage foam or remain soft beneath it for a long time, so make a small test first. Avoid thick glue dots: every bump underneath can affect the print. Allow the bond to dry or cure fully according to the product's instructions.
Place the dry stamp on paper and look from the side to see whether its whole face touches. A second foam layer can raise the design, but it also needs an even bond and is not automatically necessary. More pressure will not reliably correct a crooked handle or uneven adhesive bed.
A handle need not be especially tall, but it should sit securely between your fingers. Before gluing, check that you can lower it vertically without touching the future inked face. For an asymmetrical design, mark a small arrow on top pointing toward the motif’s upper edge. On a set of stamps, these references help align a printed row. Mounting another design on the opposite face may save a block, but makes it harder to set the tool down cleanly between impressions. One clearly identified printing face is easier to handle while learning.
Start with less color
Dab a thin layer of suitable stamp ink or water-based craft paint onto the motif. Make a trial impression on scrap paper. Press straight down and lift without wiping sideways. If color fills a narrow space, use less on the next attempt and gently clear the recess.
After printing, wipe off residue with a slightly damp cloth if the materials allow it. Do not immerse a wooden handle with glued foam in water. Let the stamp dry with its face exposed, then store it without weight pressing on the design. Mark the motif's orientation on top of the handle. That small reference helps prevent an asymmetrical print from landing upside down during the next project.