An envelope sized for a handmade card
A rectangular blank with two side tabs becomes an envelope for an A6 card. Work through the folds with scrap paper first.
Leave room for the card
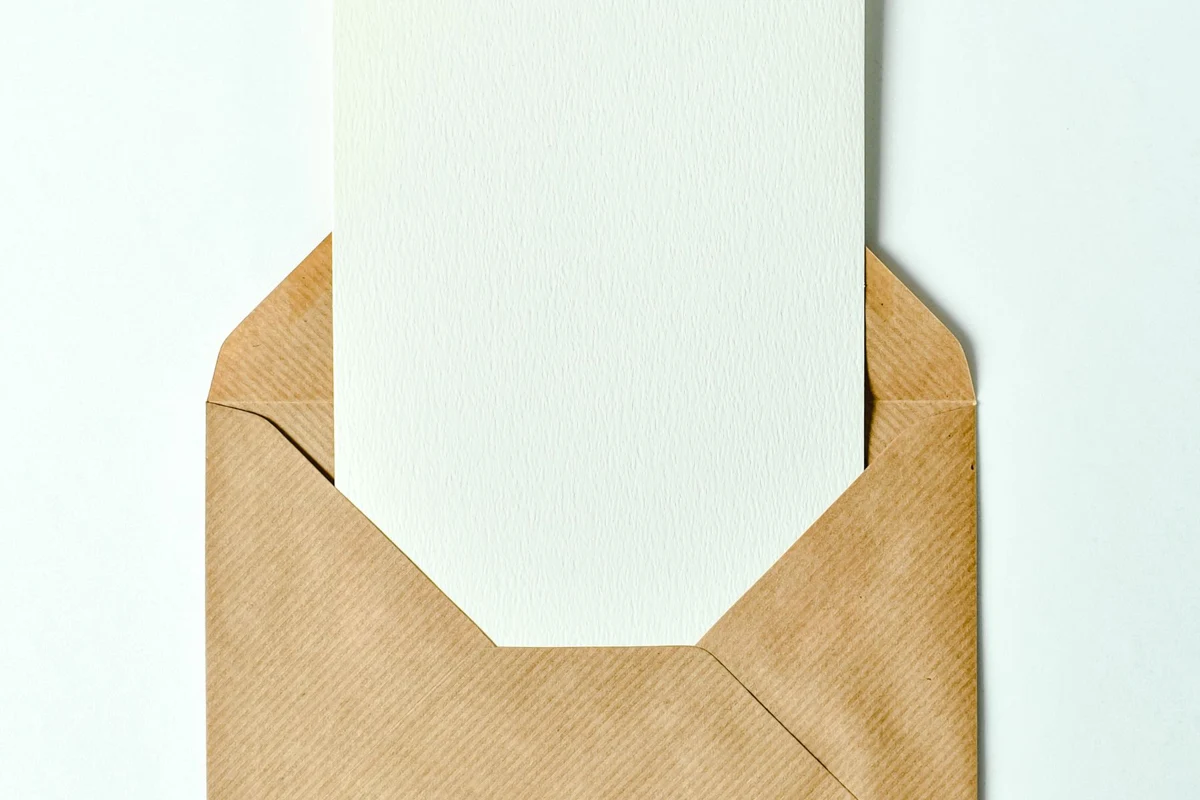
This version fits a flat A6 card measuring 10.5 by 14.8 centimeters, about 4⅛ by 5⅞ inches. The finished envelope is roughly 11.5 by 16 centimeters. That leaves a little clearance without putting the card in an oversized pocket. Thick collage elements or raised decorations need more space and should be checked with their own mock-up.
Gather scrap paper, a ruler, a pencil and scissors. For the final envelope, choose paper that folds easily rather than very stiff cardstock. You also need an adhesive suitable for that paper. On many uncoated papers, a thin application from a glue stick is easier to control than a generous amount of liquid adhesive. Use the metric measurements below together; mixing rounded inch conversions can change the fit.
Divide the rectangle
Cut a rectangle 21 centimeters wide and 27 centimeters tall. Place it vertically. From the bottom edge, mark horizontal fold lines at 11.5 and 23 centimeters. This creates a bottom panel and a middle panel, each 11.5 centimeters tall, with a 4-centimeter closing flap at the top.
Mark a vertical line 2.5 centimeters in from each long side. The space between those lines is 16 centimeters wide. Keep the side strips beside the middle panel: these will be the glue tabs. Cut away the strips beside the bottom panel and the top flap. The blank now has a wide middle and narrower panels above and below it.
Work on the scrap version first. Separate the tabs from the adjacent panels neatly without cutting into the central pocket area. A slightly uneven outer edge is less troublesome than an accidental cut that extends into the part holding the card.
Fold and test before applying glue
Fold both side tabs inward onto the middle panel. Fold the bottom panel upward along its marked line so it rests over the tabs. It now forms the front of the pocket. Slide the card in from the top and check that it moves easily. The top flap should fold over the opening without forcing the card downward.
Once the fit is right, open the bottom panel again. Apply a small amount of adhesive to the upward-facing surfaces of the side tabs, keeping it away from the pocket interior and fold lines. Bring the bottom panel back up and press over the tabs. Leave the inside of the pocket unglued. Allow the joins to dry according to the adhesive's directions.
Too much moisture can ripple absorbent paper. A thin, even layer is easier to manage than thick blobs. Do not insert a valuable original photograph while the glue is wet or the suitability of the materials is uncertain.
Keep the closure uncomplicated
Leave the top flap rectangular or trim its two outer corners slightly. Avoid cutting into the fold. For a card handed over in person, a paper band or suitable removable closure may be enough, provided it does not tear the envelope when opened.
If you plan to mail it, check the current postal requirements for dimensions, closure and machine processing. This is a craft pattern, not a promise that the envelope qualifies for a particular USPS rate or service. Raised or delicate contents may need a suitable outer mailing envelope.
Keep the successful paper mock-up flat and write the card size and cutting dimensions on it. Next time, you can check whether the new card is thicker or a different format rather than trying to reconstruct the measurements from memory. A reliable plain template is often more useful than several decorative versions that fit only one card.