Felt coasters with a simple stitched edge
Two felt layers, a visible running stitch and a size that suits the mug. A small project that needs no sewing machine.
Begin with the mug
Place your mug on a sheet of paper and draw a square around it, leaving a little space on every side. A 4-inch square, approximately 10 centimeters, is a useful starting point for many mugs. The actual base of your mug matters more than a standard pattern size. A particularly wide cup needs more room so it does not sit close to the edge.
For one coaster, gather two matching squares of felt, each about 2 millimeters thick, sewing thread, a suitable hand-sewing needle and scissors. Small sewing clips help hold the layers together. Choose felt that the needle can pass through without excessive force. Very dense or thick material makes this modest project unnecessarily difficult.
Match the edges before sewing
Trace the paper template twice and cut the felt with steady, reasonably long cuts. Place the squares together and compare the corners. Small differences are easier to trim now than after stitching. The edges do not need to look machine-cut, but neither layer should project noticeably beyond the other.
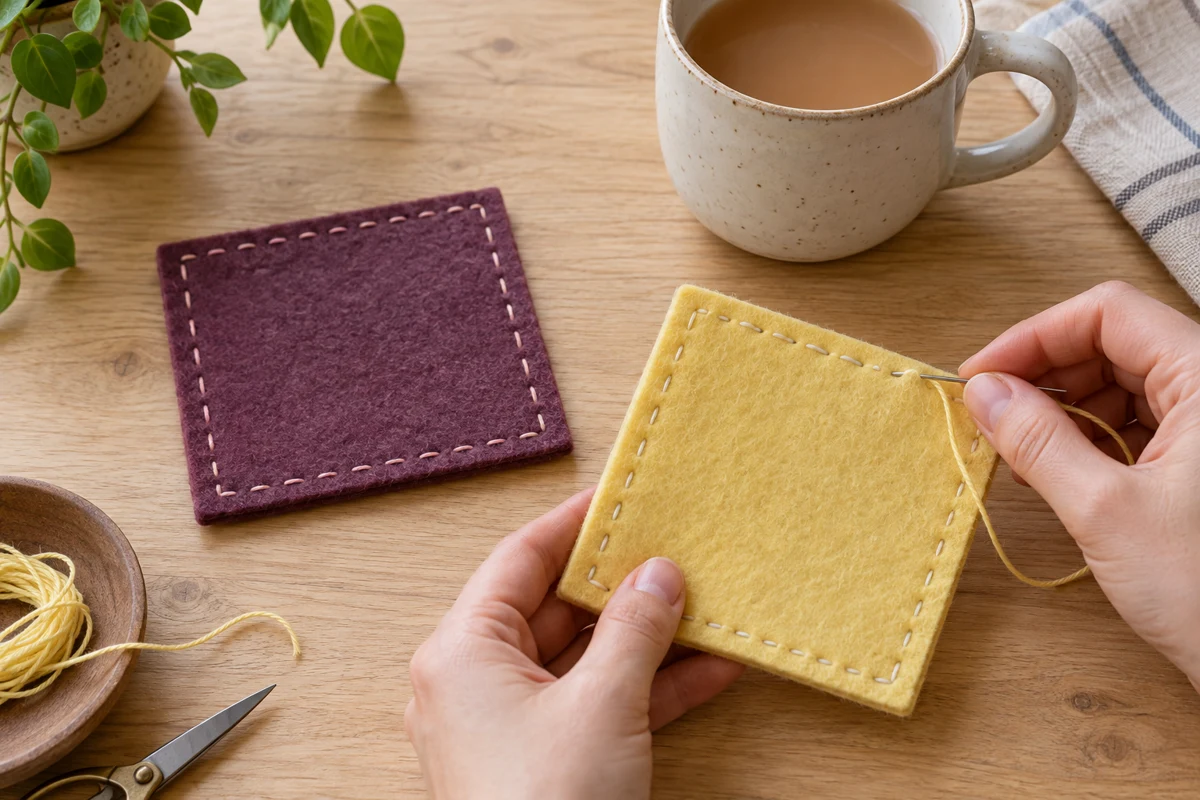
Put the preferred sides facing outward. The cut edges will remain exposed, so the coaster is not turned inside out later. Hold the layers with two or three clips. There is no need for adhesive between them; it can make hand sewing harder.
On a scrap, try a few stitches about 3/16 inch, or 5 millimeters, from the edge. If the felt tears easily or gathers under the thread, adjust the material, needle or tension before starting the coaster. Testing a small scrap is quicker than unpicking a whole edge.
Work around at an easy pace
Use a manageable length of thread, roughly the length of your forearm. An excessively long strand tangles more readily and becomes worn as it passes repeatedly through the felt. Knot one end and begin between the two layers so the knot will not sit underneath the mug. Bring the needle to the outside, then stitch through both layers.
A running stitch alternates between going down and coming back up. Aim for short, similar stitches without treating every gap as a measuring exercise. Draw the thread until it rests against the surface, rather than pulling it tight. Too much tension can pucker the edge and keep the coaster from lying flat.
Pause before each corner. Position the last stitch so the next side can maintain a sensible distance from the cut edge. Turn the whole piece instead of forcing the needle diagonally through a thick corner. Remove each clip as you reach it, and check the back occasionally to make sure the lower layer is being caught throughout.
Finish without a lump
Secure the end with a few small stitches in the same place. Pass the needle a short distance between the layers, bring it out and trim the thread. This hides the tail instead of leaving it beneath the cup. Remove all needles and clips, then smooth the square gently with your hands.
Set an empty mug on it first. If the mug rocks, look for a knot or a pulled seam creating a raised spot. This is a coaster for ordinary drinkware, not a tested heat barrier for pans, pots or very hot objects.
Follow the care directions for your particular felt. Let a damp coaster dry in the open before stacking it with others. For a second coaster, you can change the thread color or adjust the dimensions. The plain shape does not need extra decoration to make a coherent pair, and repeating it is a useful way to become more comfortable with the stitch.