Sew an envelope cushion cover
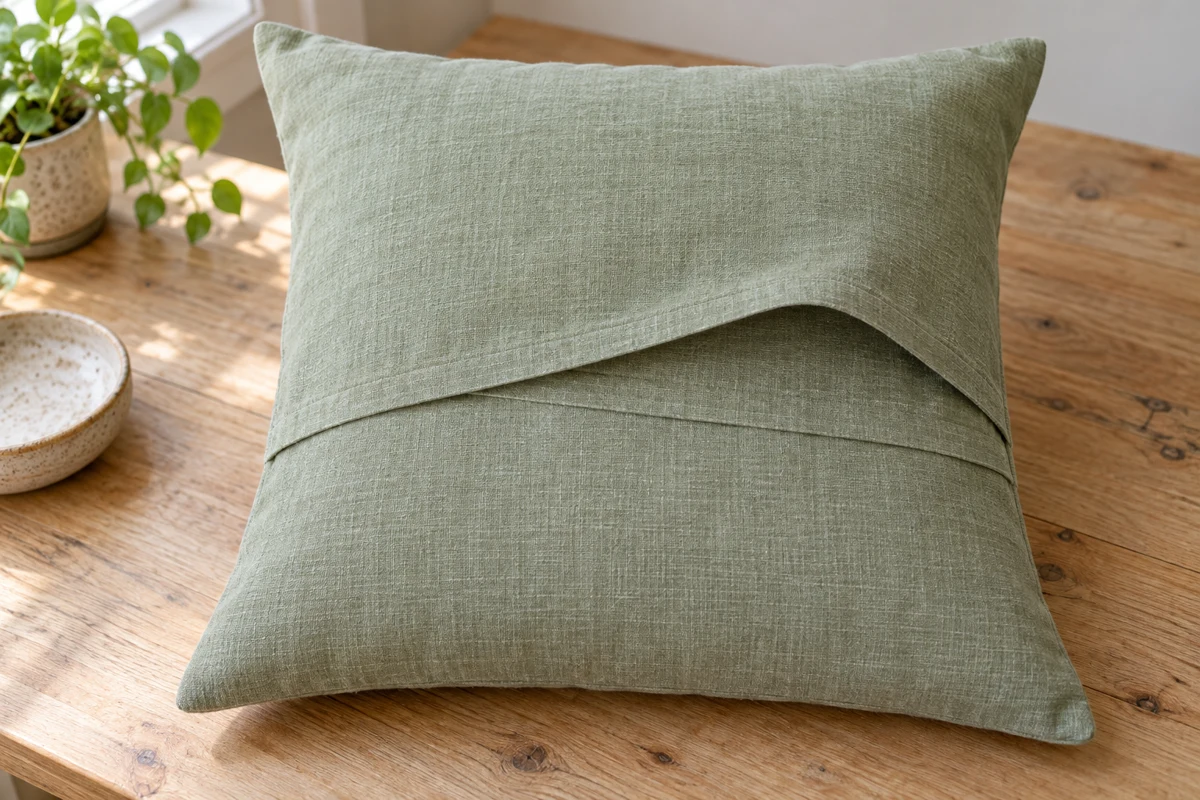
An overlapping back keeps the insert inside this cover without a zipper or button closure.
Measure the insert you have
For an insert measuring approximately 40 × 40 cm, cut one front panel 42 × 42 cm and two back panels 42 × 28 cm. Those are roughly 16½-inch square and 16½ × 11-inch pieces. The measurements already include a 1 cm seam allowance; use the metric dimensions consistently rather than mixing rounded conversions. A densely filled insert may need a little more room. Pin a trial fit before committing to the final seams.
Choose medium-weight woven cotton rather than stretchy jersey. Wash and dry it according to the care you intend for the cover, then press it flat. Mark the top of every piece when the print has a direction. It is surprisingly easy to rotate one back panel while concentrating on the overlap, particularly with a repeating motif that looks similar upside down.
Prepare the opening while everything is flat
Hem one 42 cm edge of each back panel. Turn the edge to the wrong side by 1 cm, then turn it again by another 1 cm. Press the folds and stitch near the inner folded edge. Each back panel is now about 26 cm deep. Completing these two hems first keeps the opening tidy without trying to sew inside a finished cover.
Place the front right side up. Lay both backs over it, right sides down, with their unhemmed outside edges aligned to opposite sides of the front. The hemmed edges overlap by approximately 10 cm in the middle. Together the backs should cover the entire front square. Pin around the outside and add pins where the doubled back panels meet the side edges.
Sew the square, leaving the overlap free
Stitch around the perimeter with a 1 cm allowance. At each corner, stop with the needle down, lift the presser foot, and rotate the fabric. Secure the beginning and end of the seam. Do not stitch across the two finished back hems: their overlapping opening is how the insert goes in.
Zigzag the outer seam allowances to contain fraying. Trim only the excess tips at the corners, leaving enough cloth outside the stitching to keep the seam intact. Turn the cover through the envelope opening. A blunt point turner helps shape the corners without piercing them. Press the edges gently if the fabric permits.
Adapt the dimensions without guessing
The same construction works for a rectangular insert. Add the chosen allowance at every outside edge of the front. After hemming, the combined back-panel depth must exceed the side they cover so there is a genuine overlap. Draw the intended back as a rectangle and place two paper strips over it. This separates the fabric used by hems, perimeter seams, and overlap.
In this square example, each hemmed back panel is 26 cm deep. Together they provide 52 cm over a front that measures 42 cm before perimeter stitching. The 10 cm difference is the overlap. That calculation is more useful than simply making one piece “a bit larger.” Tiny pillows do not need an excessive overlap, while very full inserts may require greater coverage.
To center a large front motif, locate its intended midpoint first and draw the cut square around it. Pattern repeat can require more cloth than the panel's area alone suggests. Arrange the back pieces in the remaining fabric only after settling the front. An intentionally plain back often works better than two awkward fragments of a large print.
Read the fit at the back
Put two neighboring insert corners into the cover first, then ease the remaining corners into position. Smooth the overlapping panels across the back. If the opening gapes, check whether the insert is much fuller than expected or the overlap is too shallow. A deeper back panel usually distributes that tension better than adding one small snap at the center. Keep the dimensions that actually worked with this insert for the next cover; the label alone will not record the difference.