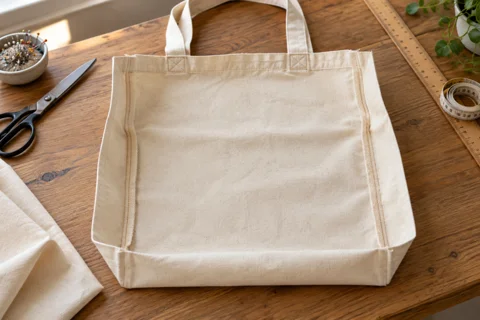
A drawstring bag for small things
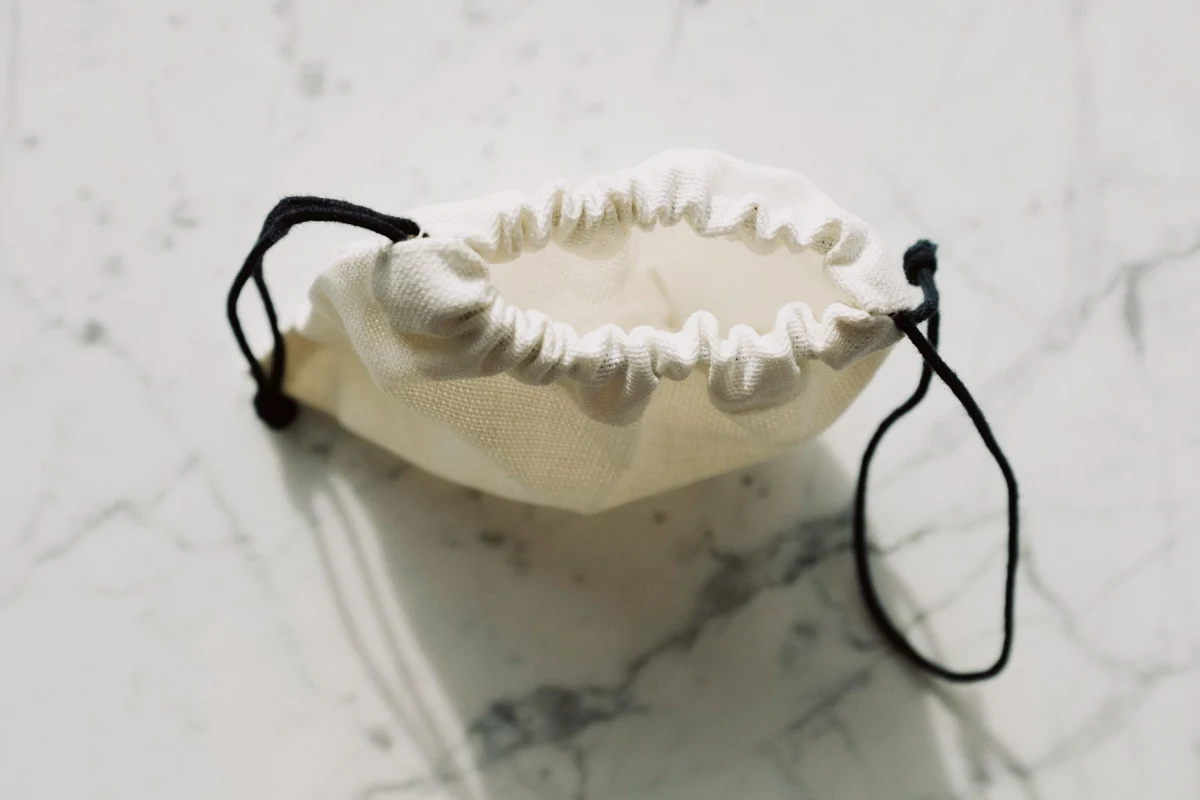
Two separate casings and cords traveling in opposite directions give this little bag a straightforward closure.
Leave enough fabric for the casings
Cut two woven-fabric rectangles measuring 22 × 29 cm, approximately 8⅝ × 11⅜ inches. The finished bag is about 20 cm wide and 25 cm high. Its upper 3 cm form the casing, while the bottom seam uses another centimeter. Soft cotton gathers more easily than stiff coated fabric, especially at this small scale.
You also need matching thread and two smooth cords. Determine their final length on the sewn bag. Each cord must travel through both casings and still leave comfortable ends for tying and pulling. Thin string can be unpleasant to grip, while oversized cord may jam in the channel. A scrap folded to the proposed casing width makes a quick fit check before cutting the fabric.
Keep the upper side sections open
Finish the side raw edges first. Put the two panels right sides together and mark each side 4 cm below the top. Sew from one mark down the side, across the bottom, and up the other side to the second mark, using a 1 cm allowance throughout. Secure both ends of the stitching because these points receive repeated pulling when the bag opens.
Press the side allowances apart. Above each seam end, fold the still-open allowances inward along the same line and stitch each short edge separately. These finished edges stop loose fibers from catching the cord. At this point, the top consists of two separate flaps rather than a continuous tube. That distinction makes the casing entrances easy to reach.
Sew one casing on each side
Turn each upper edge down by 1 cm, then another 2 cm. Press and stitch near the lower fold, sewing through only that side of the bag. Leave the short ends open. Check the actual cord against the channel before stitching; a seam placed too high can make an otherwise adequate casing frustratingly narrow.
Turn the bag right side out. Fasten a closed safety pin to one cord and feed it through the front casing, then back through the rear casing to its starting side. Feed the second cord around the same route from the opposite side. Tie the two ends of each individual cord together. Pulling the two knots away from one another gathers the opening closed.
Test the movement before filling it
If a cord catches, inspect the casing entrances and the joins between them. Pulling harder will not fix an entrance accidentally sewn shut. Remove the few obstructing stitches, refinish the opening if necessary, and secure the repaired seam. Keep the cord ends only as long as needed to open the bag fully and grip them comfortably. This project holds light supplies; it is not a load-rated carrying bag. Keep its cords away from small children, and do not leave the bag where it might be treated as a toy.