A fabric tray with raised corners
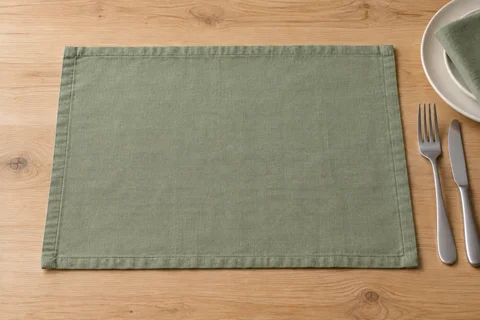
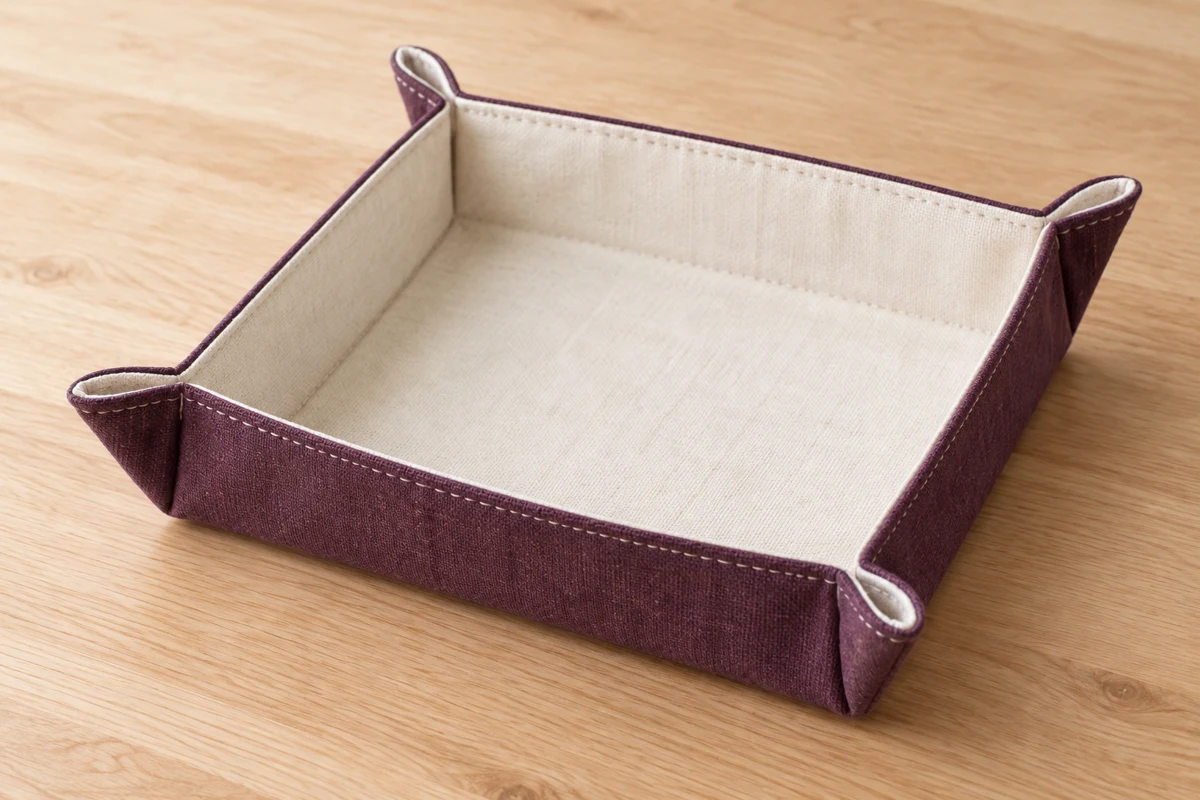
Raising four corners turns a flat fabric square into a small tray for lightweight objects.
Sew the flat piece first
Cut two 24 cm squares of stable woven fabric, approximately 9½ inches square. Apply any thin compatible interfacing according to its instructions before assembly. Place the fabrics right sides together and sew around them with a 1 cm allowance, leaving a turning gap about 5 cm long on one straight edge.
Trim the excess corner tips carefully and turn the square. Fold the gap allowances inward, press the edges, and topstitch close to the perimeter. The finished flat piece is about 22 cm square. Inspect both faces for folds now; after the walls are formed, those areas become less accessible.
Use one corner as a shape trial
Before sewing all four corners, fold a paper square at the same marks. It shows how quickly taller walls reduce the base. A ring may still fit while a larger key ring does not. Choose for the contents rather than raising every corner as high as possible.
The corner points can remain as visible outside tabs or lie in a deliberate direction. Check that this does not twist the tray. Removable corner fasteners could permit flat transport, but they require suitable hardware and a different attachment plan. These sewn corners are permanent and should not be forced flat whenever the tray is stored.
Use the corners to establish the height
At each corner, mark a point 3 cm from the tip on both neighboring edges. Fold the corner diagonally so these marks meet. Arrange the intended inner fabric toward the inside of the developing tray. Clip the folds first so you can inspect the shape before stitching.
Join the two edges at each mark with a short secure seam through the folded layers. Repeat at all four corners. The little projecting points may face outward. Do not trim them off, because their finished edges are part of the enclosed construction. A base approximately 16 cm wide remains between the raised sides.
Adapt the shape to its contents
A low wall is enough for jewelry, sewing clips, or keys. For a wider, flatter tray, place the corner joins nearer the tips. Moving them farther inward creates taller sides but reduces the base. Adjust one clipped corner and compare the result before committing to all four seams.
This soft tray is not intended for carrying heavy objects. Support its base when lifting it with contents rather than pulling one corner. Do not treat it as a hot-pan trivet or use it for unpackaged food. Wash it only as permitted by the complete fabric and interfacing combination, then reshape the walls gently after drying. If a stiff interfacing creases or separates, a less rigid construction may work better next time than adding another bonded layer.