Cover a sturdy box with paper
Cover a box by planning its wall panels and turned edges separately, then working one surface at a time.
Check the lid before adding layers
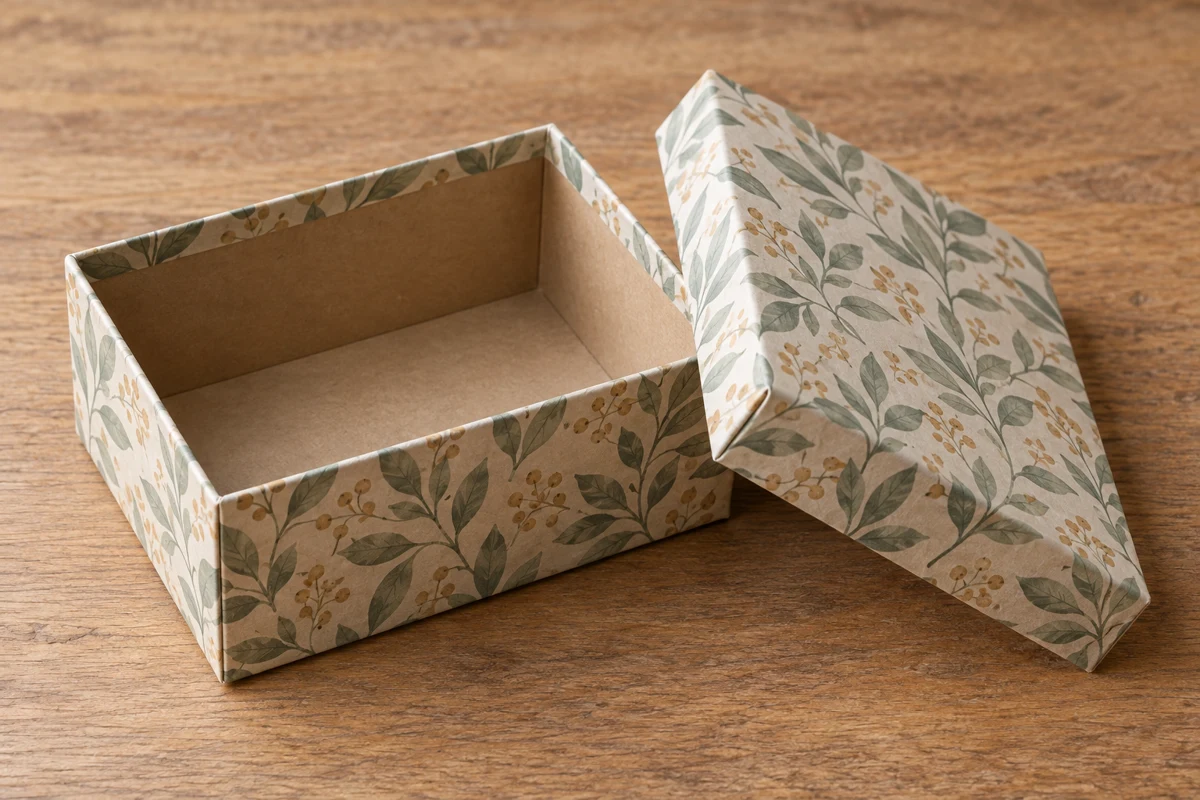
Paper covering changes a box's dimensions. Test the clearance between lid and base before starting. A lid that already fits tightly may bind after one extra layer. In that case, leave the contact areas uncovered or decorate only the outside of the lid.
The original box must be dry, firm and clean. Press lightly at the corners and inspect old glued seams. Repair a loose join with an appropriate adhesive first and let it dry completely. Soft, water-damaged board is not a suitable foundation. New paper hides damage but does not restore the board beneath it.
Fit the pieces without adhesive
Measure the wall height and total circumference. One continuous strip can cover all four exterior sides if it folds around the corners without splitting. Add allowances at the top and bottom for turning over the edges. Place the seam on a less visible wall rather than directly on a corner.
Wrap the strip around the box dry and mark each corner. Check the direction of any pattern. Thin paper may reveal the box's existing printing. A plain intermediate layer can reduce that, but adds more thickness. Test a small area and consider whether a different covering paper would be simpler.
Glue one wall at a time
Spread a thin layer of suitable paper adhesive over a limited area. Start on one wall and smooth the covering from its center toward the edges. Work around the box gradually instead of wetting the whole strip at once. Large damp paper areas can stretch and become harder to align.
Guide the paper over each existing corner without scoring through its surface. Let the wall areas settle before folding the top and bottom allowances. Cut into those allowances where adjacent walls meet, stopping just short of the box edge so the finished corner is not left open.
Finish the rim and bottom
Turn the upper flaps inward individually and smooth them down. A slightly angled overlap can reduce bulk at a corner, but do not trim both flaps so closely that the original board shows. Fold the lower allowances underneath, then cover their ends with a separate bottom panel.
An interior lining is optional. If wanted, fit it after the exterior dries. A floor panel slightly smaller than the inside dimensions is easier to insert than one that jams tightly. Avoid thick adhesive deposits in the corners where small stored objects could catch.
Test the pattern across one corner
For a strong print, cut a small trial strip spanning just one corner. Align the design on the first wall, then fold it around. You can now see whether an important line ends awkwardly on the next face. A continuous strip preserves the pattern better than four separate panels, but its seam must still end somewhere. Choose that location deliberately.
On a tall box, separate wall panels over narrow corner strips may be easier to handle. This creates a different visible design rather than an invisible repair. Try it dry and decide whether those extra lines suit the box. The corners also become thicker, so check that the lid will not catch on an unexpected ridge.
Recheck the fit after drying
Dry the lid and base separately. Putting them together while damp risks bonding them with squeezed-out glue. Once dry, test opening and closing without force. A raised paper edge can be corrected locally; a lid that is tight everywhere needs a different covering plan.
A paper-covered box still dislikes water and heavy loads. Use it for dry, lightweight supplies and lift it from underneath. Keep a small cutting diagram for another box of the same size, but inspect that box's lid fit independently. Matching outer dimensions do not guarantee identical clearance.