Finish a straight edge with bias tape
A straight edge is a good place to learn binding before adding curves and corners.
Identify the useful width
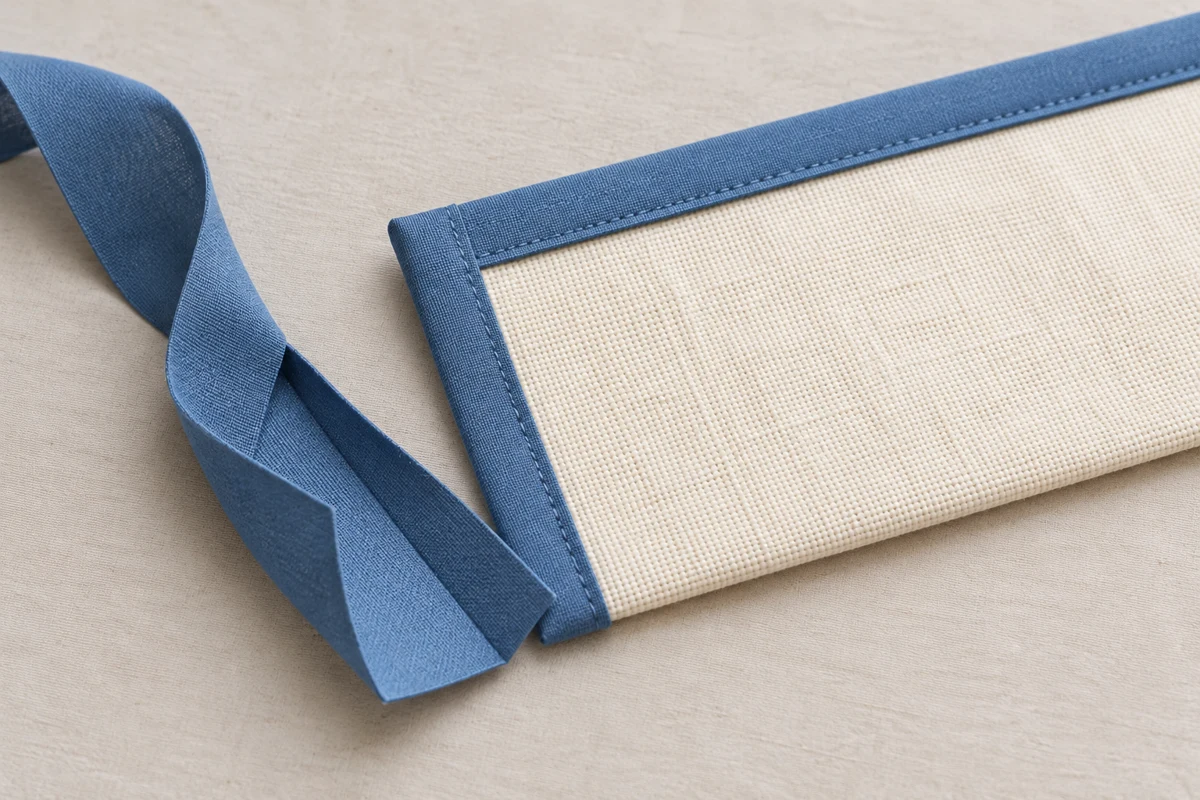
Prefolded bias tape has turned-in long edges; some versions also have a central fold. Open a short section and examine those creases before positioning it. The width on the package may describe the folded tape. What matters is whether it can wrap around your fabric stack with enough overlap on the back.
Use a straight sample and a tape length that extends beyond both ends. Narrow tape may not reach far enough around thick interfacing or batting. Check by folding it over the edge rather than stretching it hard. Bias-cut cloth can extend, but that same stretching may leave the finished edge wavy when released.
Attach one side first
Open one narrow long fold. Place that raw tape edge right sides together with the fabric edge. Stitch along the first opened crease, keeping the distance consistent and the tape relaxed. The remaining folds stay free rather than being caught beneath this first line of stitching.
Wrap the tape over the raw edge to the back. Its remaining folded edge should extend slightly beyond the first seam. Hold it with clips or basting. Inspect the entire length, not only the ends. A thicker area consumes more tape as it wraps around, leaving less overlap on the reverse.
Catch the back edge deliberately
For a first sample, hand stitching the back is easy to control. Catch the folded tape edge and a few threads of the underlying cloth without making obvious stitches on the front. If machine stitching, sew from the side where you can see the edge you need to catch, or baste carefully before sewing from the face.
Check both sides afterward. A missed section can be unpicked locally and repositioned. Another hurried pass over the same area often adds clutter without catching the fold reliably. Leave the ends long until their final treatment is clear: exposed ends also need their short raw edges turned inward or otherwise enclosed. The straight sample establishes a suitable tape width and sequence before you use the technique on a visible curved project.