A lightweight spring paper garland
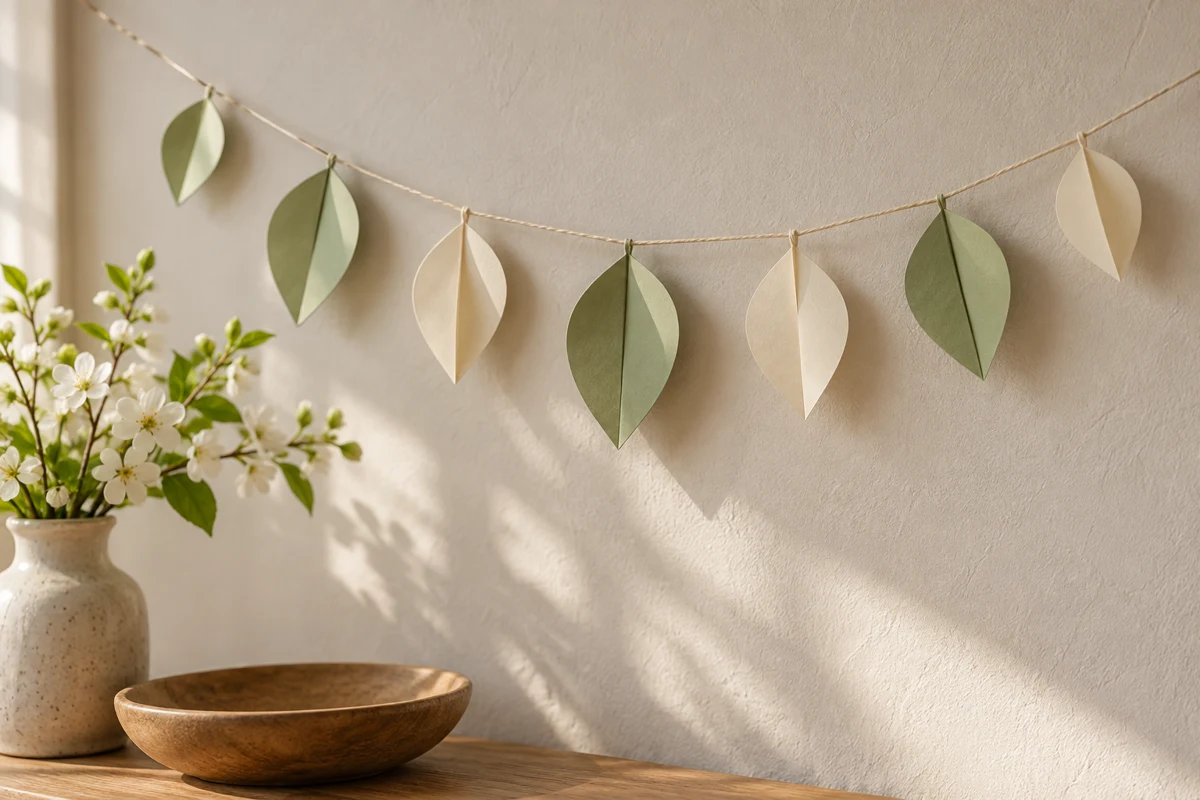
A repeated leaf shape brings a few paper offcuts together into a light spring garland.
Let one shape do the work
Simple leaves in two or three related colors are enough for this garland. You do not need a full collection of flowers, birds and butterflies. Repeating a single shape keeps the making manageable and helps differences between paper offcuts feel intentional.
Set the scraps together and choose a main color. A second can be lighter or darker, with a neutral sheet connecting them. Avoid very heavy or highly glossy stock at first if you want a light, movable decoration. Check that the papers have roughly compatible stiffness.
Plan the length on the table
Mark out the span you intend to decorate. Place rough paper pieces along it and judge the spacing. A motif every 3 to 5 inches can be a starting point rather than a rule. Larger shapes need more open space.
For the sample, cut a rectangle about 2 by 3 inches. Fold it lengthwise and draw a gentle curve along the open side, meeting the folded edge at each end. Cut the curve and open the leaf. Its center fold adds a little shape without complicated construction.
Adjust the outline before cutting the rest. An extremely narrow upper point can tear around its hanging hole. Leave enough paper for a secure attachment. Keep the successful sample as the master and trace the remaining leaves from it.
Add the holes and thread
Punch each hole well inside the edge, roughly 3/8 inch below the upper point if the shape is wide enough there. Try one leaf on the thread to see how it hangs. A hole right at the tip may look discreet but provides little material to resist tearing.
Use a light cord or thread that passes through the holes easily. This is a paper decoration, not a job for heavy rope. Thread the shapes and temporarily position them with small loose knots or another paper-appropriate fastening. Test the arrangement before tightening every interval.
Lay the whole sequence flat again. Spread the darker or larger leaves rather than leaving them all at one end. An uneven rhythm can look lively, but it should be a choice rather than the result of using all the light pieces first.
Hang it where it can stay light
Choose a short, visible span in a dry room. Match the attachment to the surface and test removable hooks discreetly. Keep the garland away from heat sources and out of young children's reach; do not leave accessible hanging loops.
Let the leaves settle after hanging, then adjust their positions. If they continually overlap, the line may be too slack or the shapes too close together. Change the spacing or tension before adding adhesive to every leaf.
For storage, lay the shapes flat in an envelope or between clean pieces of board. Do not wind the string tightly around them. Next spring, you can add a new color or replace a damaged leaf without reconstructing the entire garland.