Mark and maintain seam allowances
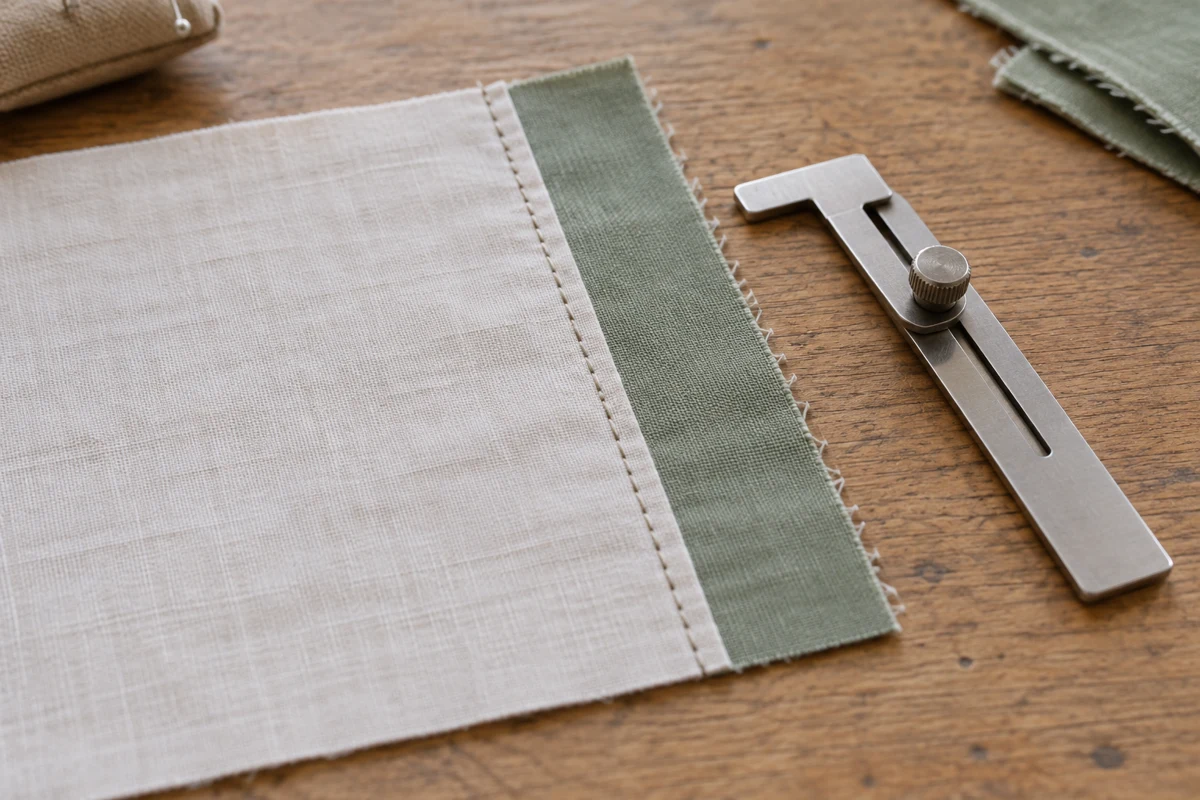
A seam allowance is the distance between the cut edge and stitching line. It must mean the same thing during cutting and sewing.
Check whether it is already included
Before cutting, find out whether the stated dimensions include allowances. A piece intended to finish 20 cm wide with 1 cm allowed at each side needs a cut width of 22 cm. If the instructions already specify 22 cm including allowances, adding more would make it oversized.
Label homemade templates explicitly. A note such as “allowance included” is more dependable than a memory that seemed obvious during the first project. Hems and drawstring casings require their own folds; they are not automatically covered by the allowance intended for a simple joining seam.
On a homemade template, draw the cutting line and stitching line in different colors. Check at a corner that they remain parallel. This is particularly helpful when one edge will be hemmed and another joined to a second piece. Different edge treatments require their own explicitly planned allowances.
Guide either the line or the edge
A marked seam line can help with hand sewing. Test the marking product on a scrap and follow its removal instructions. Heat can make some marks harder to remove. Avoid an ordinary ballpoint pen where its line could remain visible through light fabric.
At the machine, guide the cut edge along a suitable reference. Measure from the needle position actually being used, since moving the needle sideways changes the distance. BERNINA demonstrates this needle-based measurement with adjustable seam guides. Sew and measure a sample rather than trusting an assumed marking on the foot.
Repeated small differences become larger ones
A millimeter of variation may be inconspicuous in two large tote panels. Across many small patchwork pieces, the same discrepancy repeats and changes the overall width. Assemble a short test unit before sewing a large batch. Its resulting dimensions reveal whether both cutting and stitching are consistent.
Do not trim every allowance as narrow as possible. The extra cloth supports the woven edge and provides room for finishing. Selective trimming can help at a corner, while a heavily fraying straight seam needs more care. Record the allowance beside the cutting dimensions for your own projects. A photograph of the finished bag will not preserve this invisible but essential information for making another one.