Coil a cord coaster
A cord spiral stays flatter when each relaxed round is joined to the one before it.
Choose cord that bends into a small center
Use soft, evenly sized cord that does not shed heavily. A short test shows whether it coils tightly or springs straight again. Stiff rope makes the first turn unnecessarily difficult. For a hand-sewn sample, choose a relatively thin cotton cord whose outer fibers accept a suitable needle without force.
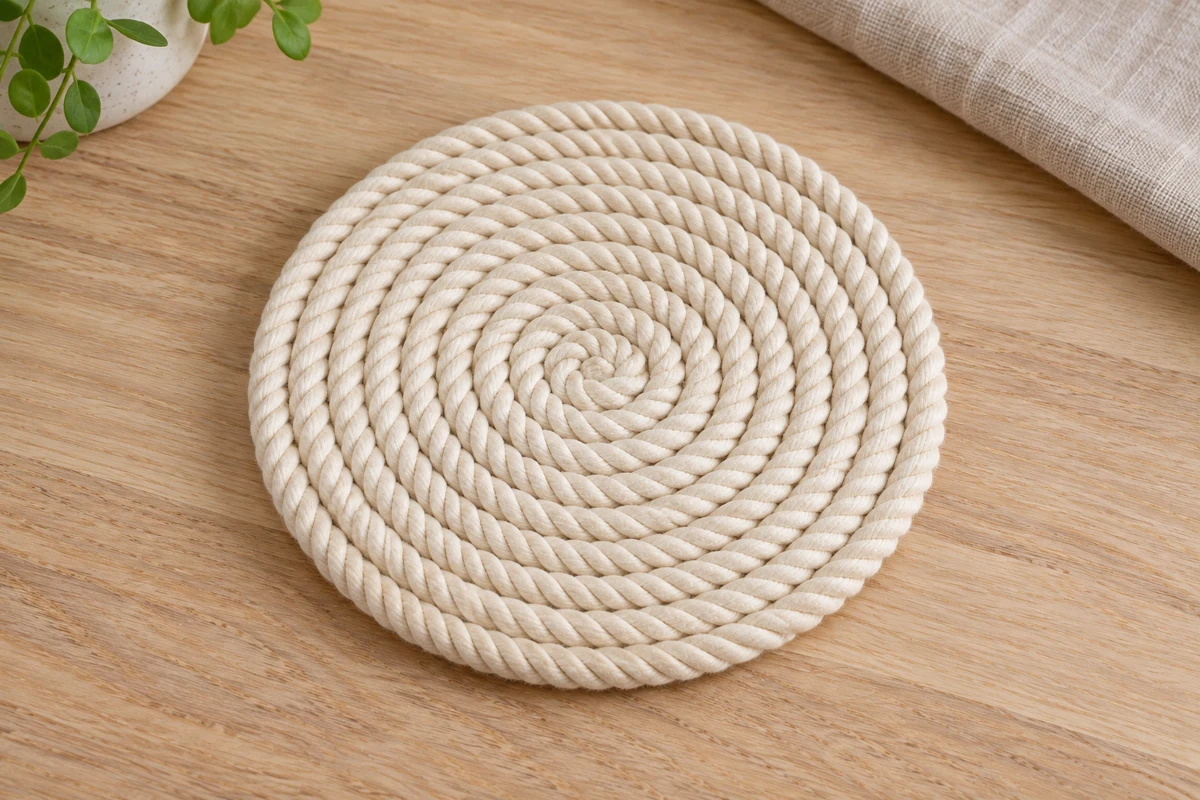
Plan a mat about 10 cm across, roughly 4 inches. The required length depends on cord diameter and how it coils, so lay a loose spiral to the intended size first. Mark some spare length rather than relying on one universal measurement. Keep the remaining cord organized so it does not loop around your hands while stitching.
Secure a flat center
Form a small coil and hold it flat on the table. Join adjacent sections with small stitches through their outer fibers. Draw the thread enough to bring them together without making one climb over the other. An overly tight center pulls the later surface upward.
Add the next round outside it and connect it in short sections. Rotate the work regularly instead of sewing from an awkward angle. After each round, place it flat and check for a developing bowl shape. This project is intended to remain level; loosen the most recent tight connection if it begins to cup.
Finish without a hard lump
Lay the end flat against the final round and secure it with several small stitches. Wrap a fraying tip with suitable thread rather than treating it with flame. Trim stray fibers sparingly. The final join should not create a hard bump beneath a glass.
Try an empty glass in the center. If it rocks, inspect the knots and inner coils. This textile mat is not tested protection for hot cookware and can absorb liquid. After a spill, dry the surface beneath it too. Clean according to the cord and thread materials and allow it to dry completely. Repair loose rounds or persistent distortion before using it again as a stable resting surface.