A pincushion that stays put
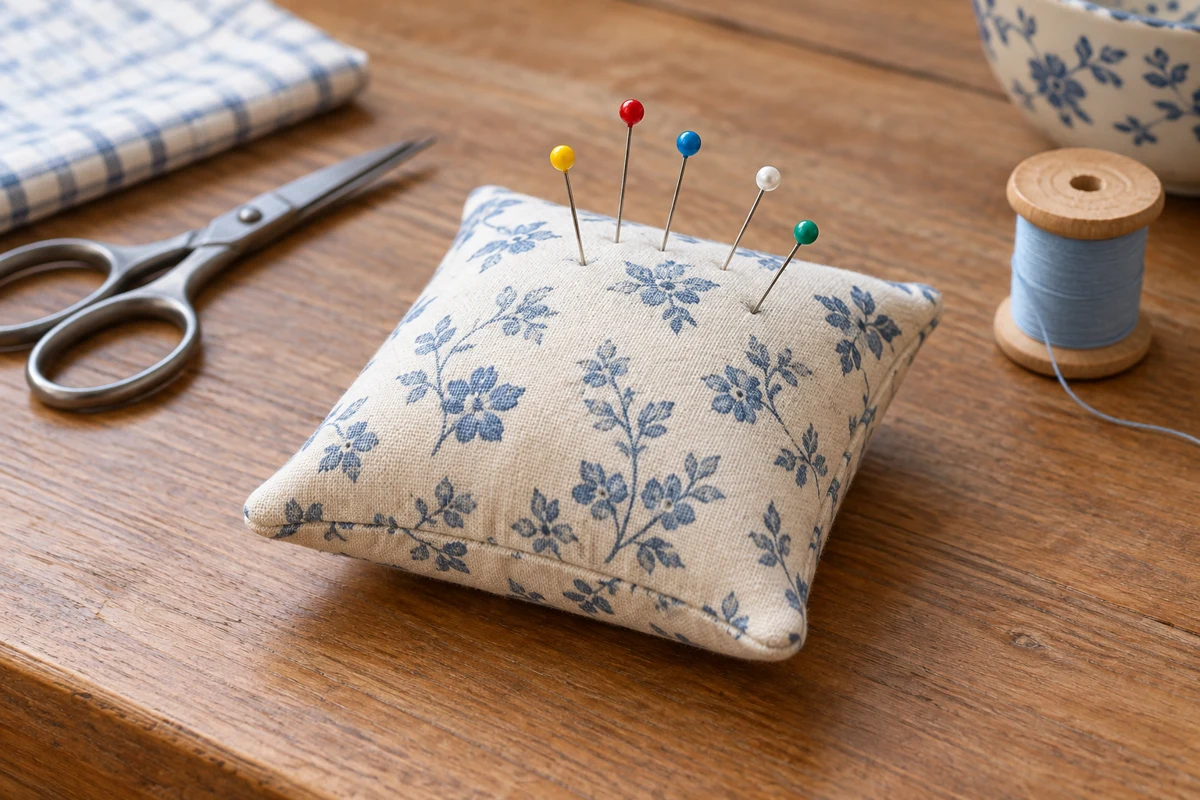
A broad pincushion with moderate filling is easier to use than a tiny, tightly packed ball.
Choose the shape and filling together
Cut two 12 cm squares of closely woven cotton, approximately 4¾ inches square. A 1 cm seam allowance leaves a surface about 10 cm across. This is large enough to separate different pins but small enough for a drawer. Very thin or open-weave fabric lets sharp points escape more easily and is less suitable for this project.
Clean, dry polyester fiberfill is sufficient. Avoid loose metal pieces, food ingredients, or unidentified pellets added simply to increase the weight. Weight does not prevent a pin from emerging through the side. A reasonably flat base and a modest filling height make the object easier to control on the worktable.
Keep the needles visible
A dark or busy print can hide fine needles. Hold several actual pins against the sample under your usual work light and check the contrast. A calm pale surface is often easier to inspect. Keep applied decorations away from the areas used for pinning.
Divide the surface into two small zones with a flat stitched mark if you want to separate short and long pins. Add that marking before filling. Do not keep bent, blunt, or damaged needles as another category in the same cushion; remove them from use. The cushion works best with a manageable selection rather than the entire unsorted collection.
Leave room to turn and fill it
Place the squares right sides together and mark a turning gap about 4 cm long on one edge. Stitch the rest of the perimeter with a 1 cm allowance, securing both seam ends. Trim only the excess corner tips, then turn the shell right side out. Shape the corners gently with a blunt tool.
Pull the fiberfill into small portions rather than pushing in one dense lump. Fill the corners first, then distribute material through the center. The cushion should yield when pressed. If its surface feels drum-tight, inserting pins becomes harder and the base tends to bulge away from the table. Remove a little filling rather than trying to compress more into the opening.
Close the gap and check the base
Turn the opening allowances inward and close them with small ladder stitches. Tighten the thread gradually so the edges meet without forming a hard ridge. Put the cushion on the table and redistribute the filling gently. A noticeably round, rocking shape needs less stuffing, not another tight seam through its entire body.
Insert a few test pins at an angle, leaving their heads visible and accessible. Check the underside and opposite edge for escaping points. This pincushion is a temporary work surface, not an enclosed transport container. For travel, use a suitable rigid case or closed needle book. Account for loose pins after working, and store the cushion away from children and pets; its soft shape can easily resemble a small toy.