Display photographs with clips on a cord
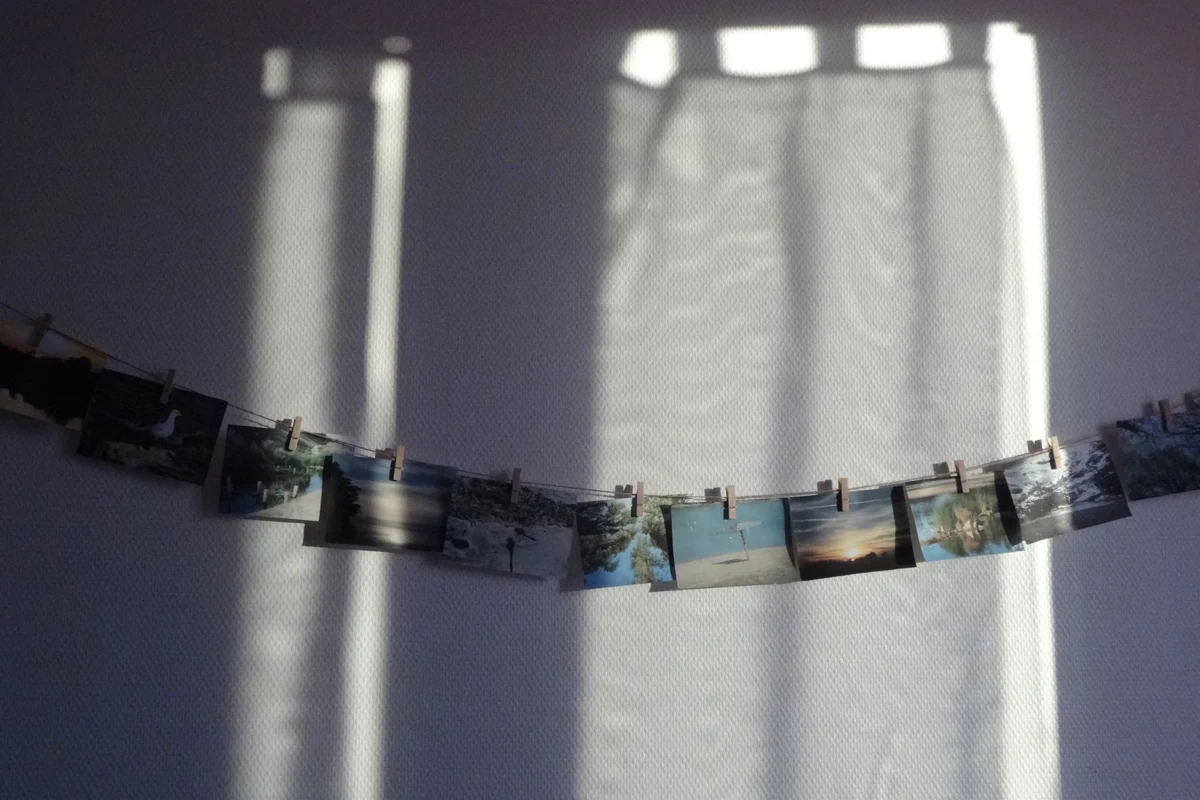
A cord with small clips makes photographs easy to change. It suits lightweight prints rather than framed pictures.
Let the photographs establish the spacing
Arrange the intended prints in a row on a table. Leave enough space for each image to read independently. Measure the cord only after this arrangement, adding length for the end attachments. For several rows, a paper mock-up on the wall helps establish comfortable spacing at normal viewing height.
Use replaceable prints instead of irreplaceable originals. Clips may leave pressure marks, and open displays expose photographs to light and dust. A small card between clip and print edge may reduce an obvious mark but does not establish archival protection. Valuable photographs belong in suitable storage or conservation framing.
If the prints vary in thickness, test the clips on each type. A strong clip suited to heavy card may dent a thin print. Identical clip size matters less than keeping the image edges intact. Small neutral backing cards can help very small photographs sit visually alongside larger ones.
Keep the load light
Choose cord that does not stretch excessively and clean small clips. Inspect them for sharp edges and rust. Allow a little sag; pulling the cord extremely tight increases force on the wall fixings. Select those fixings for the wall surface and actual load, not simply their appearance.
Arrange the ends without long loose loops. Keep the whole display away from small children and routes where someone could catch it. For adhesive fixings on painted surfaces, check both surface compatibility and the intended removal method.
Adjust the sequence on the wall
Hang a few prints first, working outward from the center. Alternating portrait and landscape formats can vary the lower edge, but should not hide an important image. Step back to inspect the row. An empty gap often improves readability more than one extra photograph.
Small date or location cards can hang between prints. Do not write on an image face merely to label the display. Open clips fully when changing pictures rather than dragging a print through them. Dust the cord dry and inspect the attachments. Increasing sag may indicate too much weight or stretching material; reduce the number of prints or revise the construction.