Stretch fabric in an embroidery hoop
Fabric should sit smooth in an embroidery hoop without having its grain distorted by excessive pulling.
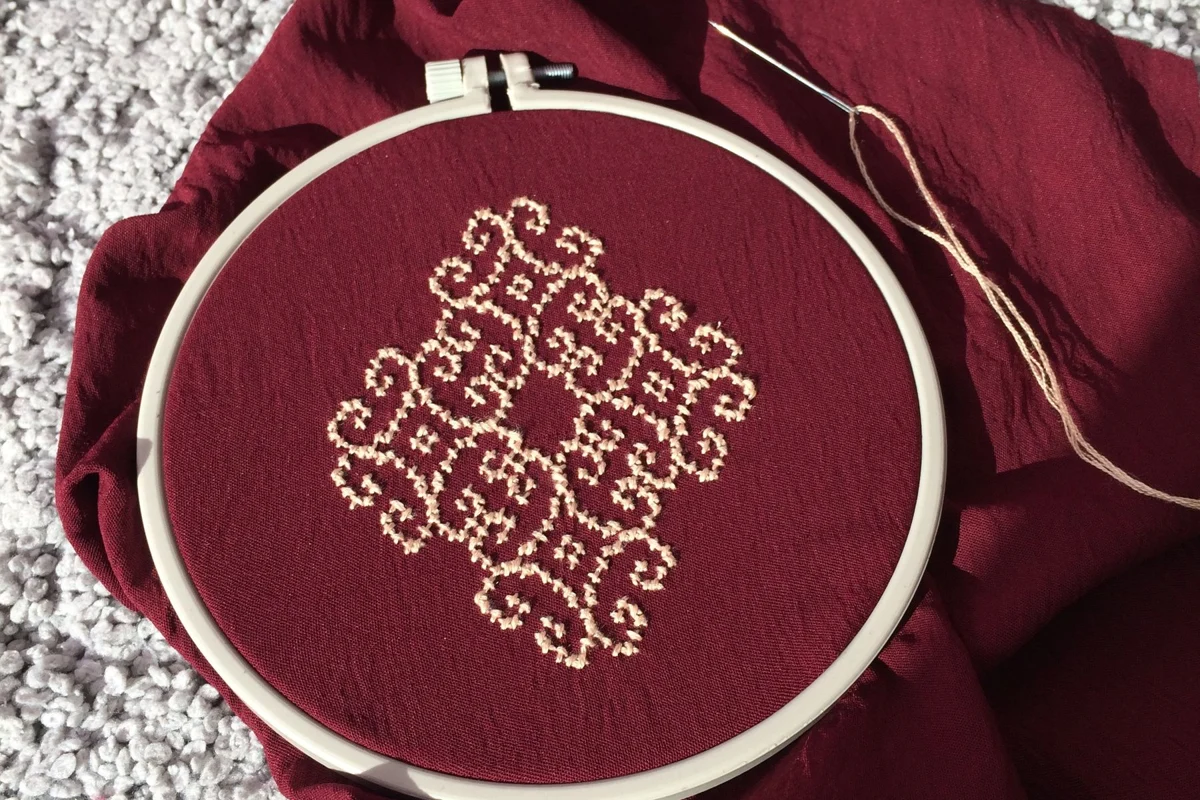
Match the hoop to the design
Choose a hoop that leaves some space around the planned motif. A very large hoop for a tiny line is harder to hold and uses more cloth. Cut enough fabric to extend several centimeters beyond every side. This margin is needed for gripping and is not the same as the eventual visible picture area.
Inspect both rings for rough spots and clean edges. A small splinter can snag threads before the first stitch. The screw should move predictably. Tightening harder does not fix a damaged hoop; replace it or address only minor harmless surface irregularities as appropriate for the material.
For an elongated design, moving the hoop during the work may be more convenient than buying a very large one. Plan the sequence so heavily stitched sections stay out of the ring where possible. Mark the motif center on the pattern rather than permanently marking the visible cloth edge.
Keep the weave aligned
Loosen the screw and separate the rings. Put the inner ring on the table, lay the smoothed fabric over it, and place the outer ring above. Align the design and press the outer ring down evenly, avoiding trapped folds.
Tighten moderately at first. Smooth the cloth around the circumference while watching the thread directions. Pulling at two opposite corners can make it taut and crooked at the same time. Check alignment before final tightening. It should resist collapsing under the needle without being visibly overstretched.
Recheck during the work
Support the hoop comfortably and avoid catching unwanted fabric on the reverse. Tension may change during a longer session. Loosen and realign the work when needed rather than pulling harder at one spot. Keep bulky completed stitches out of the ring's grip where possible.
Remove the cloth for long breaks if you want to avoid prolonged pressure marks. If the hoop will become the display frame, inspect the embroidery outside it first, then rehoop for presentation. A round outline can conceal distorted grain but cannot repair it. Keep the work clean and dry so the surrounding tools and table do not transfer marks to the fabric.