Piece together a small mug rug
Three narrow strips create a small patchwork surface. Keep the joins flat enough for a cup to sit steadily.
Let the strips establish the size
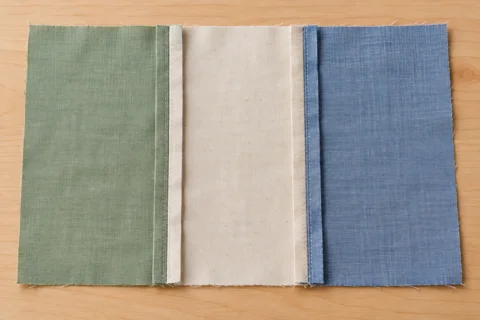
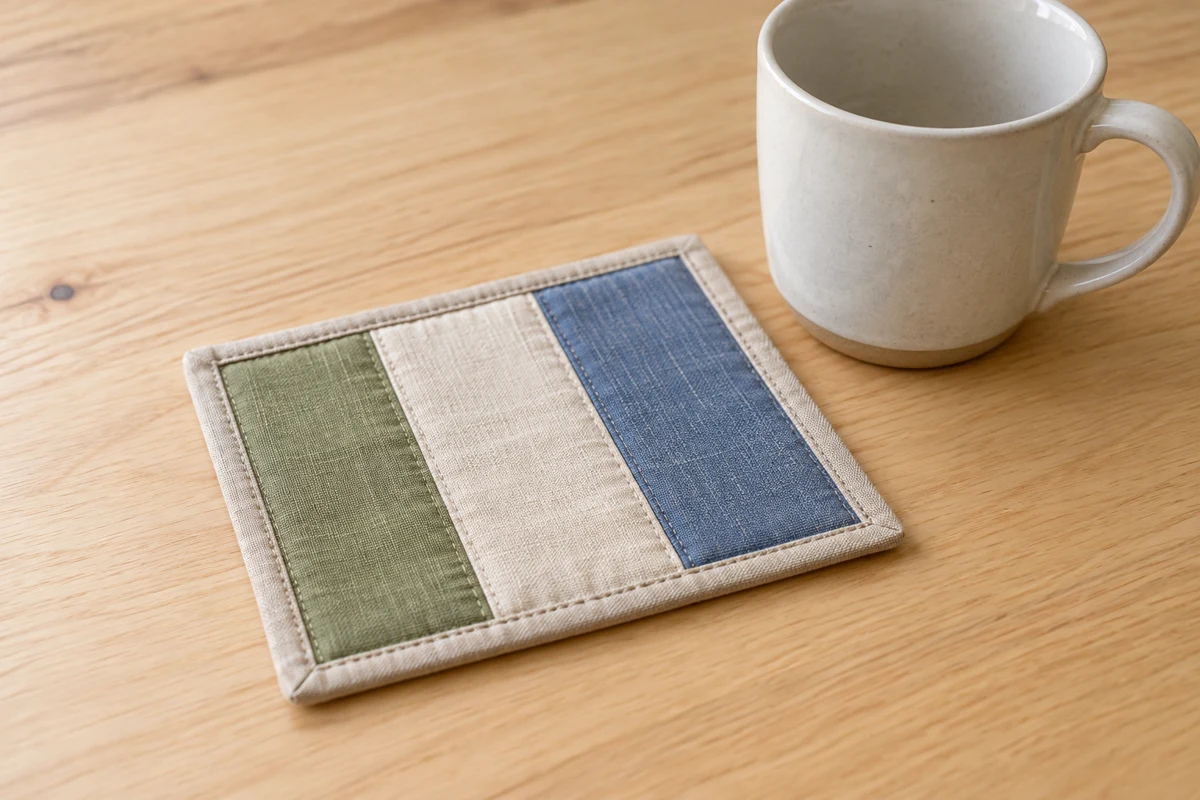
Cut three strips, each 7 × 18 cm, approximately 2¾ × 7⅛ inches. Join their long edges with 1 cm allowances. The resulting panel is about 17 × 18 cm because the two joining seams consume 4 cm of the original combined width. This arithmetic is useful when adapting the project to different scraps.
Choose fabrics of similar weight and care requirements. A heavy denim strip between lightweight cotton pieces produces an uneven surface. Arrange the strips before sewing so that an interesting motif does not disappear into a seam. Cut the backing to match the completed, squared front rather than assuming the pieced panel stayed perfectly true to its intended size.
Keep bulky joins away from the cup base
Arrange the strips beneath an empty cup before sewing and use narrow paper markers to show the future seam positions. A cup with a small foot ring may sit better when that ring does not land directly on a thick join. You can alter strip widths, provided you recalculate both total width and seam consumption.
Space beside the cup for a spoon or wrapped snack is possible, but makes the mat more rectangular. Plan that use on paper instead of adding a narrow extra piece afterward. Each added seam brings more bulk. A three-piece surface is easier to control initially than a miniature pattern with many intersections.
Piece the small panel
Sew the first two strips right sides together. Press the allowances open or deliberately to one side without stretching the cloth. Add the third strip and press again. Check the outside edges with a ruler, trimming only as much as necessary. Repeated trimming cannot fully correct inconsistent seam allowances.
Place the front and backing right sides together. Stitch around them with a 1 cm allowance, leaving a turning gap about 5 cm long on a straight edge. Without extra trimming, the finished piece is approximately 15 × 16 cm. Batting is unnecessary here and can make a small cup less stable rather than improving the mat.
Close the edge and check the surface
Trim the corner tips cautiously and turn the piece. Fold the gap allowances inward, press the edge, and topstitch around it. Put an empty cup on the finished mat. It should rest on its base instead of balancing on a bulky seam intersection. Inspect an awkward lump before adding more decorative stitching over it.
This is a small textile resting place, not tested protection against hot vessels. Do not use it beneath pans or as a substitute for an appropriate heat barrier on sensitive furniture. Moisture can pass through fabric. After a spill, lift the mat, dry the surface below, and wash the fabric according to its care requirements. A second version can rearrange the same scraps while retaining the measurements that worked.