A flat bookmark from fabric scraps
A bookmark should mark a page without becoming a thick wedge inside a closed book.
Thin scraps work better here
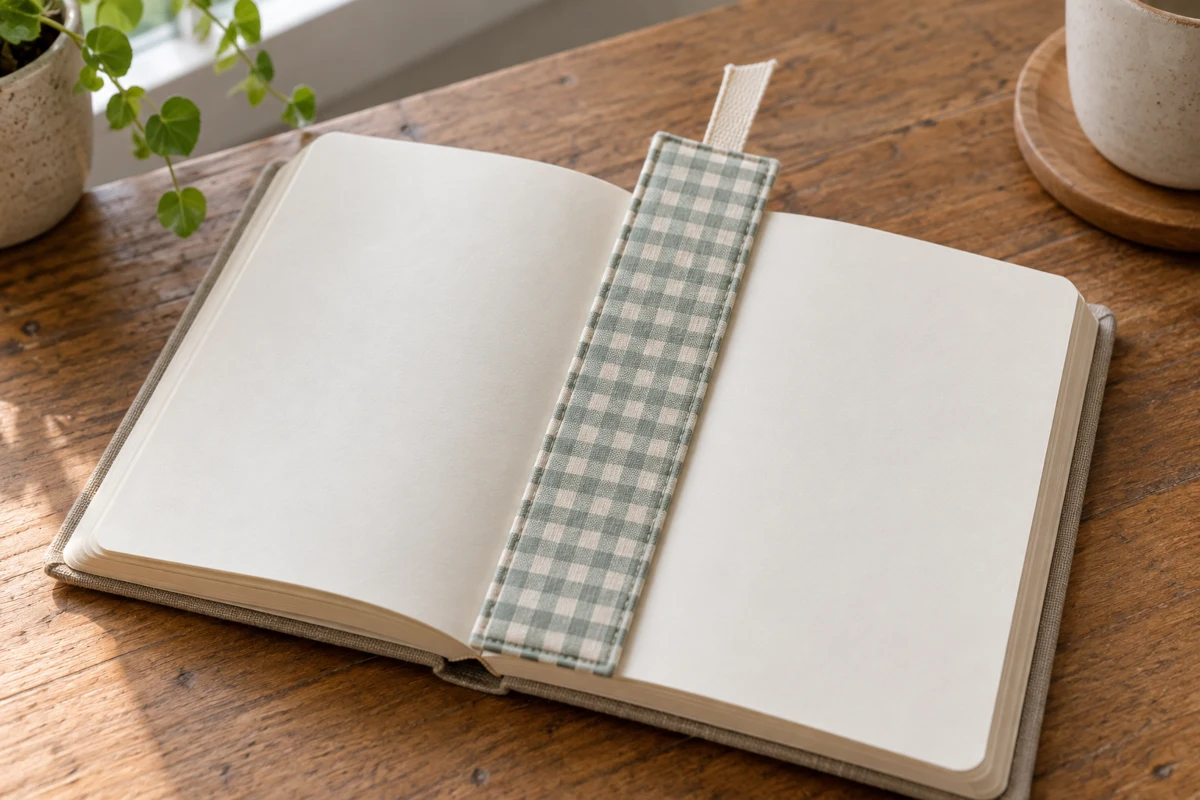
Choose two pieces of lightweight, closely woven fabric, each 6 × 22 cm, approximately 2⅜ × 8⅝ inches. A 5 mm seam allowance leaves a bookmark about 5 × 21 cm. Large printed motifs disappear on such a narrow surface; a small detail, a stripe, or a quieter reverse side usually reads more clearly. Put the proposed fabric between ordinary book pages before sewing it.
There is no need for batting. A very thin interfacing may help a limp fabric, but it still adds thickness. Feel the entire proposed stack rather than judging each layer separately. For valuable or delicate books, clean paper may be the better choice, especially when the dye stability of old scraps is unknown.
Find the crop within the narrow shape
Cut a paper window to the visible bookmark size and move it across the scrap. It shows whether a leaf, line, or fragment of a larger motif remains readable. Add the seam allowance outside that window rather than cutting directly around the chosen image and losing its border in the seam.
If adding an embroidered name, do it before assembly and keep the stitching flat. A short name generally fits more comfortably lengthwise. Check the reverse for bulky knots and avoid drawing the cloth together. Measure and smooth the front again after embroidery before cutting the backing, so small puckers are not trapped inside the finished bookmark.
Leave a turning gap along the side
Place the two rectangles right sides together. Mark a turning gap approximately 4 cm long on one long edge. Sew the remaining perimeter with a 5 mm allowance, securing the seam at both ends of the opening. If you want a narrow ribbon loop at the top, place it between the layers with its loop pointing inward and its two cut ends aligned with the top raw edge.
Trim the excess corner tips carefully without touching the stitching. Turn the bookmark through the side opening. Shape the corners with a blunt tool instead of a sharp scissor point. A slightly rounded but intact corner is preferable to a pierced seam created while trying to force an extremely sharp point.
Close it without adding bulk
Turn the opening allowances inward so they continue the existing seam line. Press according to the fabric's care requirements, then topstitch close to the entire perimeter. This also closes the turning gap. If the short end is difficult for the machine to feed, begin along a long edge and approach the corner slowly.
Place the finished bookmark inside an ordinary book and close the cover without forcing it. If the pages remain noticeably spread apart, the construction is too thick. Beads, large knots, and buttons should not sit between the pages for the same reason. Keep any ribbon loop above the top edge of the book. Remove marking lines before giving the bookmark away. A damp white cloth rubbed against a spare fabric piece can reveal obvious dye transfer, although it cannot establish archival suitability or predict every future interaction with paper.