Sew a flat button back on
A flat button needs the right position and room for the buttonhole fabric, not the largest possible bundle of thread.
Inspect the old attachment
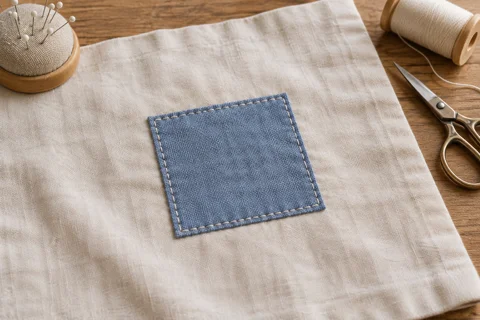
Remove loose thread carefully without cutting the cloth. If a small hole has formed, reinforce it first with a suitable patch behind the fabric. Sewing the button back onto damaged fibers simply loads the same weak area again. Check the button itself for cracks or sharp edges around its holes.
Lay the garment flat and align the overlapping edges as they should sit when closed. Mark the position through the matching buttonhole. Old needle marks provide a clue, but they may not be the best placement if the original button was crooked. Use suitable sewing thread and a needle that passes easily through the holes.
Leave room beneath the button
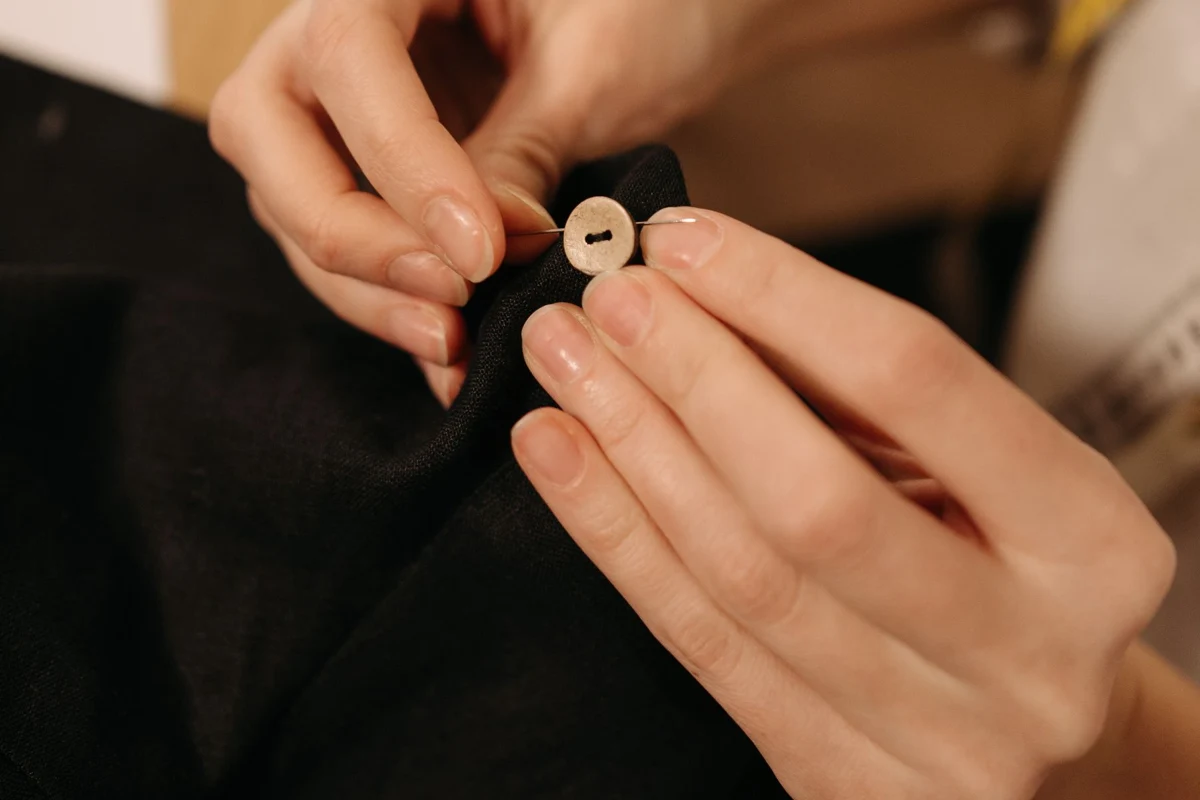
Secure the thread on the reverse, then bring it through the fabric and one button hole. Return through the opposite hole. Repeat several times without clamping the button tightly against the cloth. The buttonhole layer needs space beneath it. On thicker fabric, a small temporary spacer laid over the button can help maintain this slack during stitching.
For a four-hole button, sew two parallel pairs or a cross. Match the other buttons if you want a consistent appearance. The number of passes depends on the thread and button. An oversized thread bundle does not automatically improve the attachment and may obstruct the buttonhole.
Form a short thread shank
Remove the spacer, lift the button slightly, and wind the working thread around the strands between button and fabric. This short shank gathers the loose connections together. Take the needle to the back and secure it with small stitches, avoiding a hard lump that could rub against the wearer.
Close the button to check the fit. The fabric should pass beneath it without excessive tension, while the button should not dangle loosely. Inspect the inside to confirm that only the intended layers were caught. A lined jacket or pocket can easily acquire an unwanted attachment to another layer. Keep the remaining matching thread with spare buttons so the next repair does not begin with another long search for a suitable color.