Plan a liner for a basket you own
Fit a basket liner to the actual interior, especially when the walls slope outward.
Inspect the basket before adding fabric
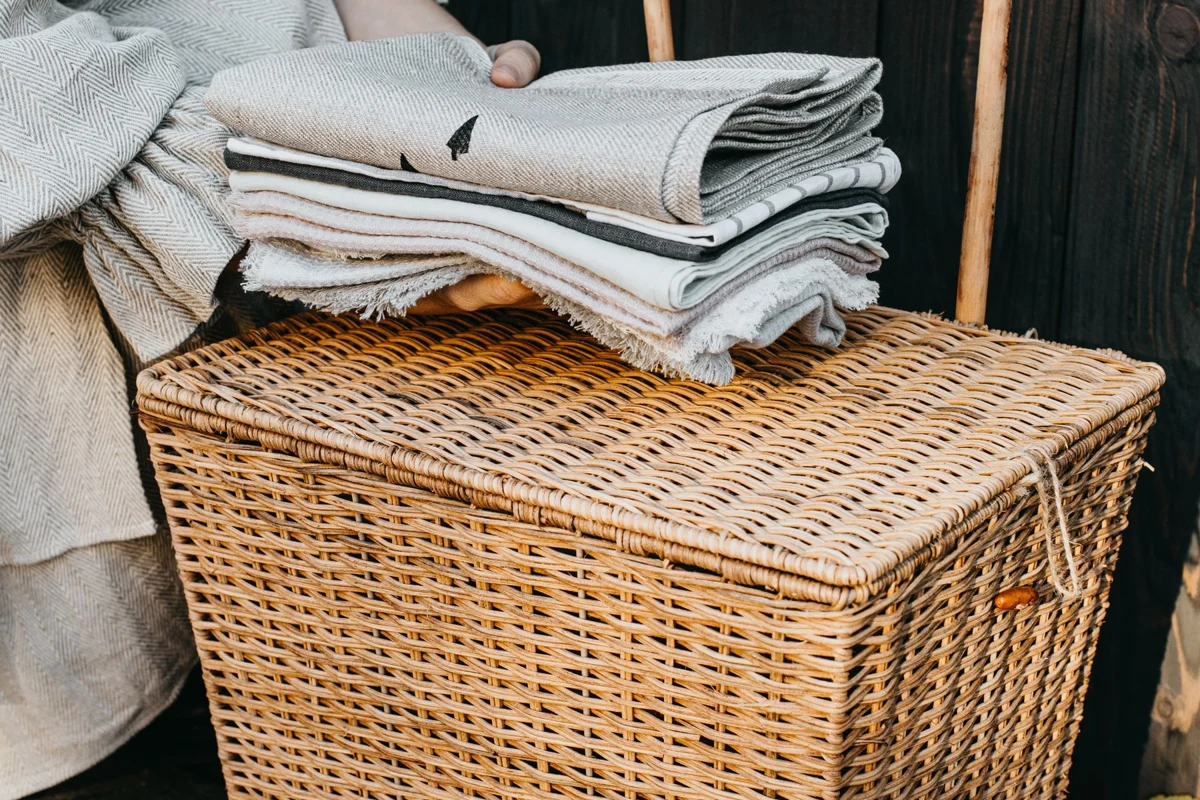
Empty the basket and check its base, weave and rim. Do not hide splinters or projecting wire beneath cloth. A liner stops small items slipping through gaps; it does not make an unsafe basket surface sound. Clean a suitable basket and let it dry completely before measuring.
Decide whether the liner stays entirely inside or folds over the rim. A turnover uses more fabric and must accommodate handles. With moving handles, a simple inside finish may work better. Plan from the beginning how the liner will come out for washing.
Measure the base and opening separately
Fit a paper shape to the inside floor, adjusting with small cuts. Mark front and back if the basket is not symmetrical. This is the finished base shape without seam allowance. Try it repeatedly: an oversized base buckles upward and makes the liner wrinkle.
Measure inside height at several points, plus each wall's lower and upper width. Many baskets widen toward the top. Rectangular wall pieces may then be too tight above or too loose below. Draw slightly flared panels instead, matching their lower edges to the base and upper edges to the opening.
Make a simple trial liner
Cut a first set from suitable scrap or inexpensive test fabric. Add the same planned seam allowance to every joined edge, perhaps ⅜ inch or 1 centimeter. Give the upper edge a separate allowance for its hem or turnover. Mark the midpoint of each base and wall edge to help align them.
Join the wall panels into a ring, then baste in the base. Match the seam intersections without stretching the floor shape while sewing. Place the sample in the basket and inspect its corners. A little ease helps; a taut liner strains its seams and is difficult to remove.
Set the upper edge on the basket
Fold the top allowance over while the sample is installed and mark the desired height. Handle attachments may need separate tabs or gaps. Do not cut those areas by eye in the final cloth. Use the sample to check that the basket remains comfortable to carry and nothing catches.
If the turnover falls inward whenever you reach inside, adjust its depth. Extra ties are worthwhile only when they remain easy to undo and clear of handles. A loose liner need not hug every part of the basket. It should follow the interior while lifting out as one piece.
Check the floor while fitting
Press the trial liner lightly against the basket floor with a flat hand. If it springs upward, the base may be too large or a wall too short. Do not pull the upper edge to hide the bulge. Mark the strained area and release a few basting stitches there. That reveals whether more wall height or less floor width is needed.
An oval basket has no four obvious corners to align. Quarter marks help distribute the fabric around its curved edge rather than collecting small folds on one side. Check whether the basket itself is uneven too. The liner can follow that shape instead of forcing perfect symmetry onto an object that does not have it.
Prepare the final fabric
Prewash according to the care label if the finished liner will be washable. Transfer every sample adjustment and mark seam allowances clearly. Finish internal raw edges appropriately so loose threads do not snag in the weave.
Test the sewn liner again with its intended contents. Heavy objects should not drag its top edge inward. Ordinary fabric is not a waterproof barrier for wet plants or damp laundry. Keep the corrected pattern labeled for its particular basket; another basket with similar outside measurements can have a very different interior shape.