Reusable bags for an Advent calendar
Make one complete sample before sewing a set of small Advent bags. External ties keep the construction simple.
Let the contents choose the sizes
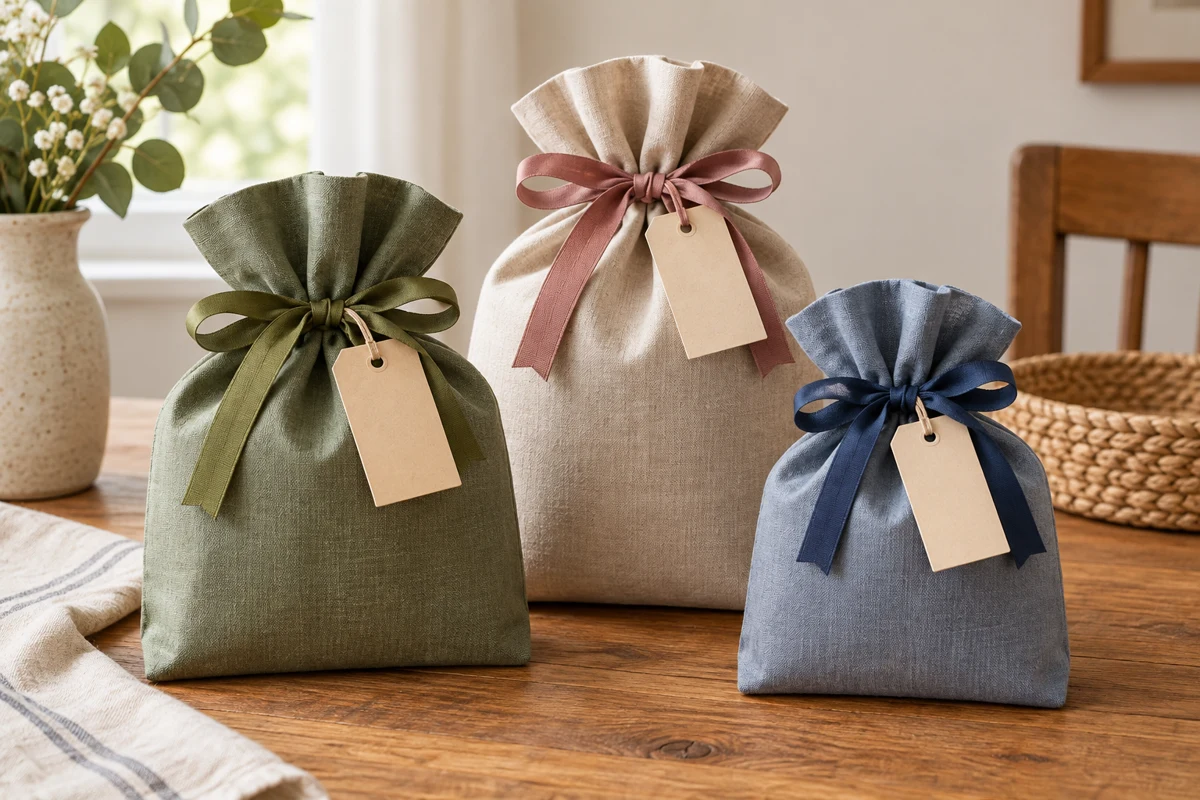
Set out the intended small gifts first. An eraser, a rolled note and a little box need different amounts of room. The bags do not all have to be identical. Related fabrics and similar ties can make the set coherent.
For an initial small sample, cut washable woven fabric 5 by 11 inches. After folding, hemming and sewing, the flat bag will be roughly 4¼ inches wide and 5 inches tall. The external tie needs empty space at the top, so an object occupying those full dimensions would not fit comfortably.
Try the real contents. A bulky object uses some of the flat width as depth, something a paper outline can underestimate. Make a larger bag for it instead of forcing it into the smallest pattern.
Complete one bag before starting the batch
Hem both short edges first, turning each inward twice by about 1/4 inch and stitching. These edges will form the opening. Pressing the folds neatly helps keep the stitching straight.
Fold the rectangle crosswise with right sides together and the two hemmed ends aligned. The bottom is now a fold. Sew both sides with a 3/8-inch seam allowance, securing the beginning and end of each seam. Finish the internal raw edges appropriately for the fabric so repeated use does not cause excessive fraying.
Turn the bag and shape the bottom corners gently. This simple version does not have a boxed base. Insert the gift and tie a separate fabric strip around the empty top. The tie should release without pulling the stitching out of shape.
Only after the sample works should you cut more rectangles. Record the successful size and the tie length actually needed. Keep the completed sample beside the work as a comparison.
Batch the steps without losing control
Cut a manageable group, hem their openings, then sew the sides. A modest batch is easier to check than a large stack that carries the first incorrect setting through every piece. Inspect the underside and allowance after a few seams.
Removable paper number tags can attach to the outer ties. That lets the bags serve other purposes after Advent. Make the numbers readable and check the sequence before filling the set.
Loose ribbons, cords and small tags are not intended for unsupervised use by young children. Do not hang accessible loops from a crib or child's bed. Any display support must also carry the actual combined weight; this sewing project does not specify a load-bearing wall installation.
Keep the useful parts after the season
Remove tags and ties, inspect for residue and clean the bags according to the fabric's care guidance. Food needs suitable separate packaging; the handmade pouch is not tested food packaging.
Store the bags dry, flat or loosely nested, with the sizing notes. If next year's gifts need a different format, add a few larger bags rather than replacing the entire set. Keeping the labels removable gives a simple seasonal project a longer working life.